This is part 5 of Sitecore DevOp series. Previously, we have installed a local instance of the Sitecore site, configured VS project, configured TDS, configured Sitecore Glass for auto-code generation.
In this blog, we are going to add our VS project to a source control. As a developer or as an organisation you have many options available to select your source control like SVN, TFS, or Git . The choice of source control depends upon your business requirements or your client’s requirements.
For the purpose of the blog, I will be using bitbucket.org with repository type as Git. The blog series is aimed at newer audience and developers who are setting up CI for the first time.
Assumptions
I am assuming that the person reading this post has never used Git or Bitbucket before, so I will be doing a step-by-step description. If you have not used Git before please spend 1 hour reading about it’s basic operations and install a Git client like Tortoise Git or Source Tree. I will be using Tortoise Git for the blog post. If you are a git pro, you can ignore this blog post as all we are doing in the post is setting up our project with BitBucket.
Step 1 : Create a new repository
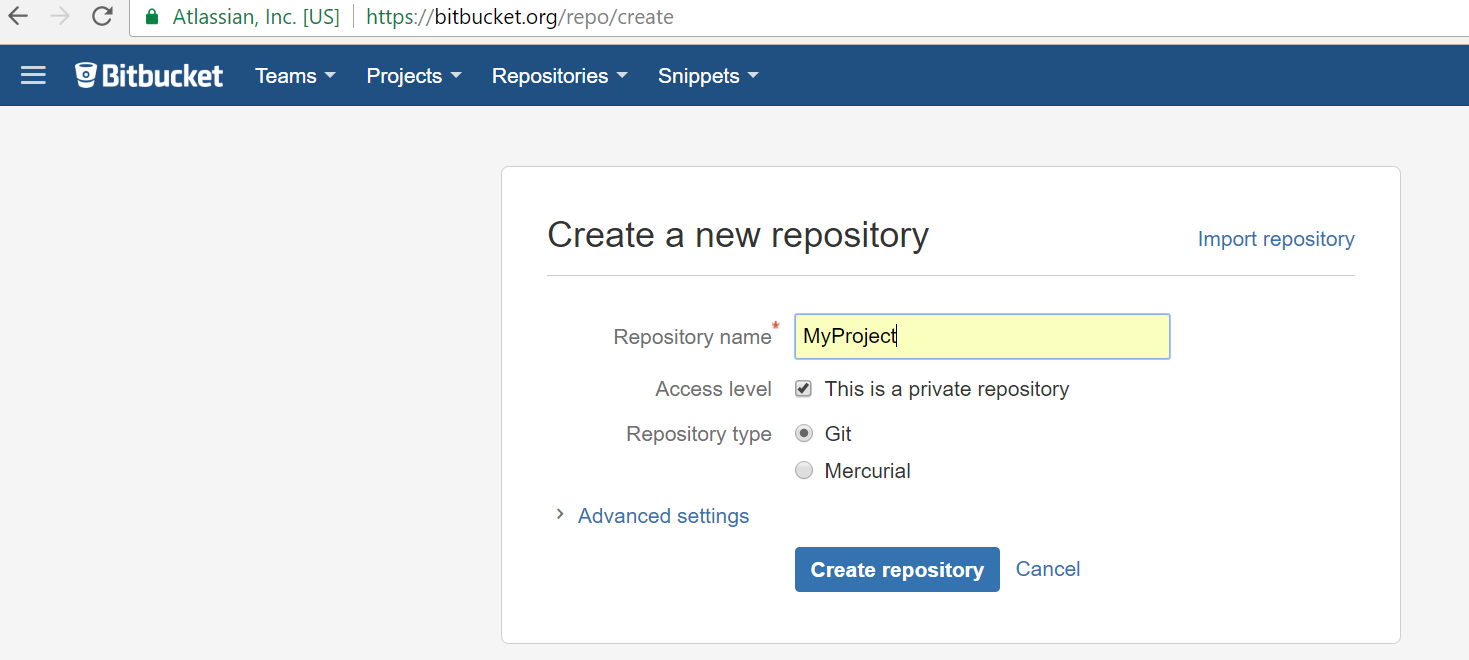
If you don’t have an account with bitbucket.org, create a free account. Then from Repositories top-menu create a new repository. For the blog series, I created ‘MyProject‘ repository as shown below:
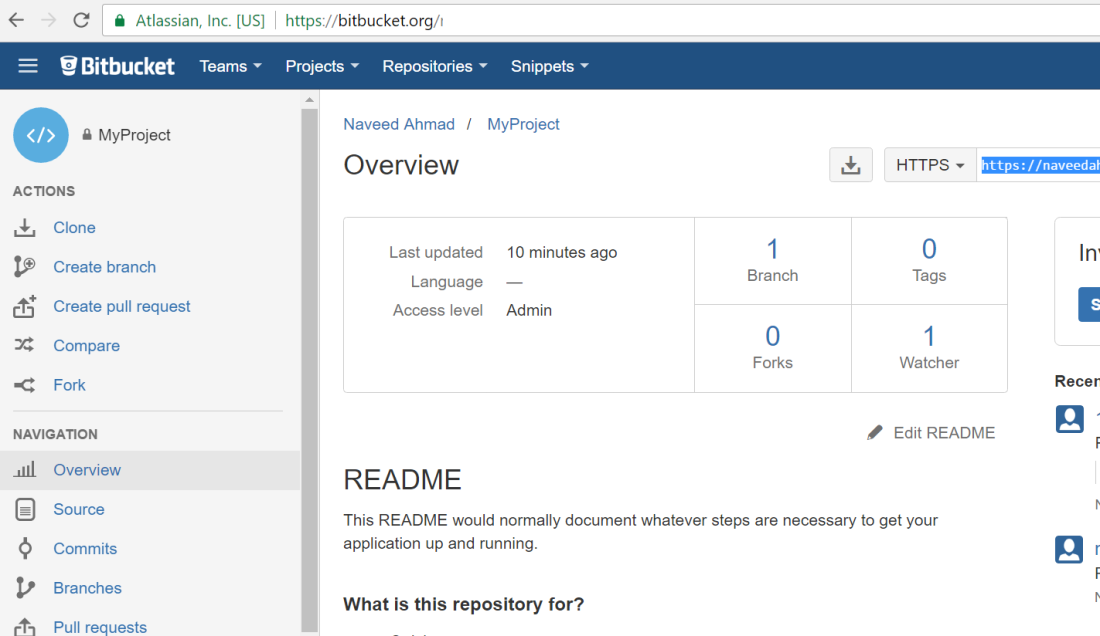
once you have created the repository, you will get an admin interface that will look like this
Step 2 : Create repository locally
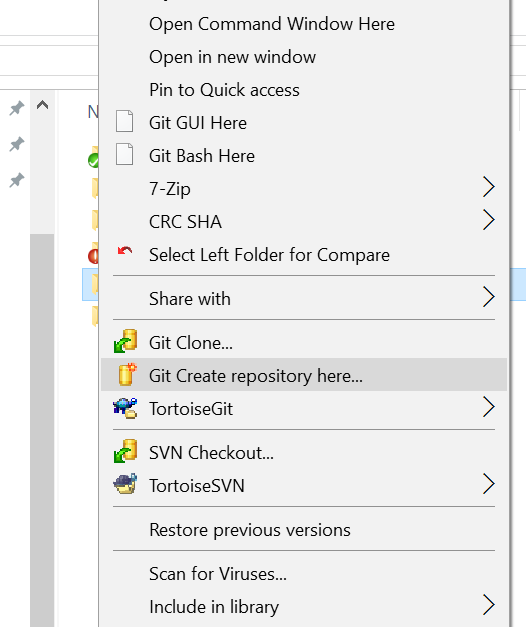
Once you have created repository on bitbucket.org, you want push your changes to the server. Before you can do that, you need to right-click the ‘MyProject‘ folder and select ‘Git create repository here‘ as show below: (you will get these options if you have installed Tortoise Git)
Step 3: Commit changes locally
The next step is to commit your changes locally. Few things to remember
- Only commit what you think is required to be source controlled
- Do not commit run time changes like /bin folder or /debug folder
- Do not commit cache items as they will be local
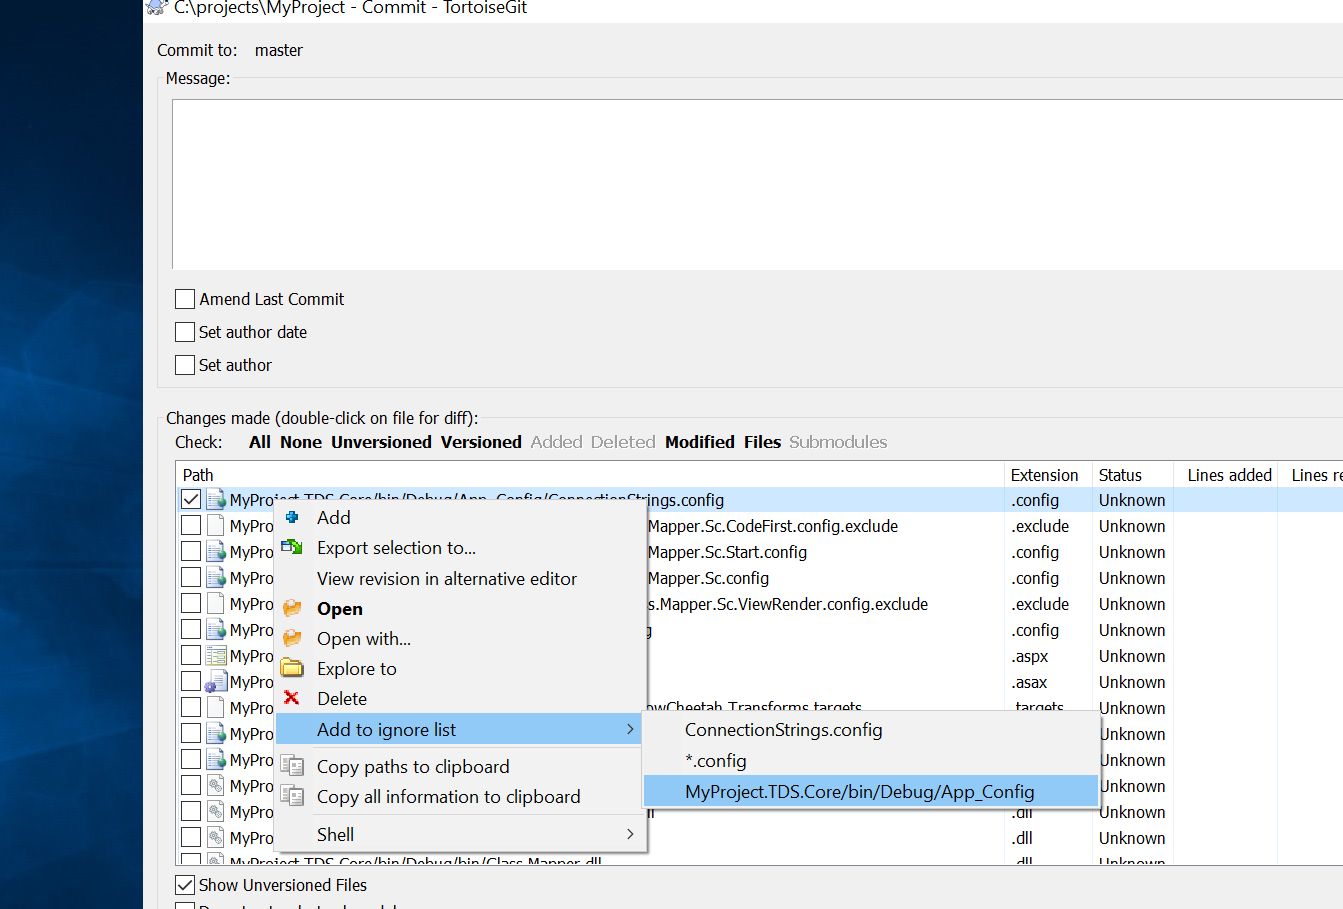
For example, using tortoise git and right-clicking on the ‘MyProject‘ folder, if I do not want to add MyProject.TDS.Core/bin folder and all the files in that folder, I will just add that folder path to .gitignore file as shown below:
As a minimum, I will also add a .gitattributes file and add the following settings as a minimum:
*.cs text=auto diff=csharp
*.html text=auto
*.htm text=auto
*.css text=auto
*.scss text=auto
*.sass text=auto
*.less text=auto
*.js text=auto
*.sql text=auto

*.csproj text=auto merge=union
*.sln text=auto eol=crlf merge=union

*.item -text
Step 4: Push changes to the Server
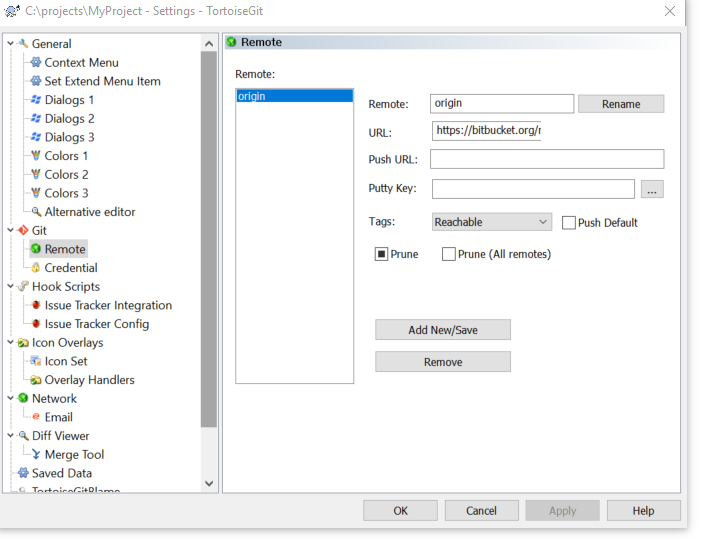
Once you have committed locally, you then need push changes to the server. But before you can push changes, you need to set the remote project URL from your client’s settings
For example, if this the project URL:
https://bitbucket.org/myusername/myproject.git
Then From right-click on ‘MyProject’ folder > Tortoise Git > Settings > Git > Remote add URL as shown below:
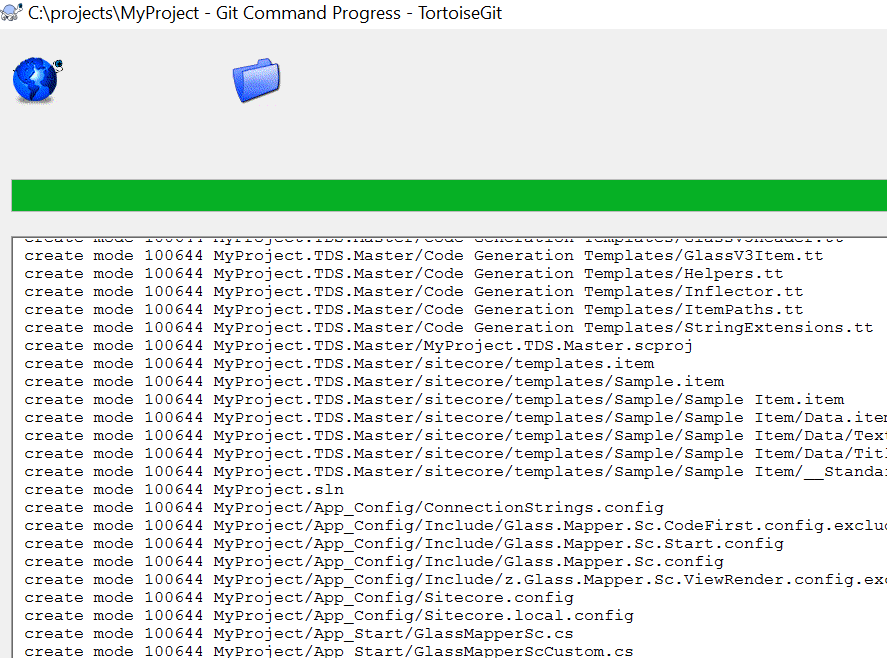
Once you have set up the URL, and you try to push changes, the server will ask for credentials. Upon successful authentication your project files will be pushed to the server
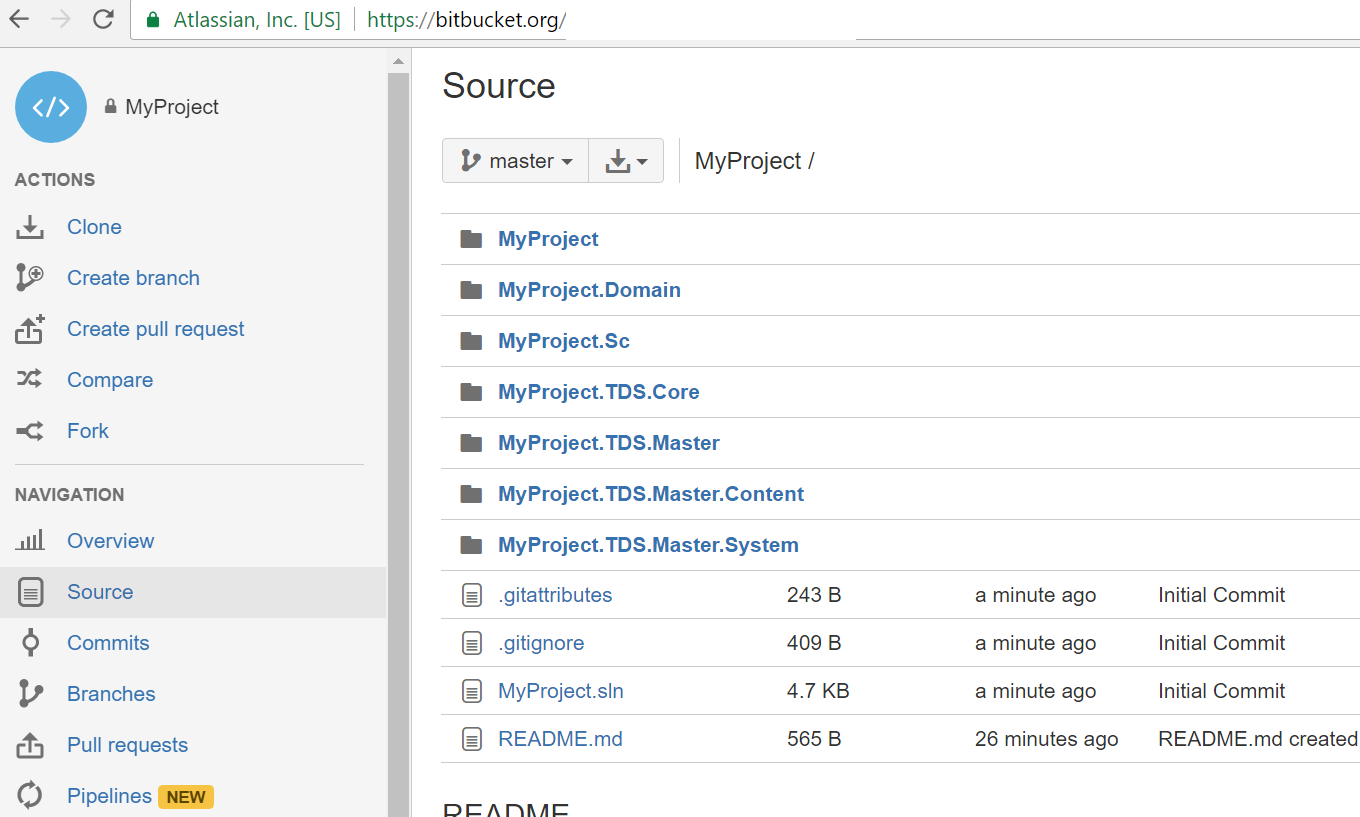
Once you have pushed your changes if you will navigate back to the admin interface of your project, you should see new folders and files created as shown below:
Our project is now ready for continuous integration. In the next blog we will set up the servers and configure them for CI.
Stay tuned.
Thanks
Related Blogs
- Part 1 – Continuous Integration – Why your Sitecore project deployments must be automated ?
- Part 2 – Setup and Configure Visual Studio Sitecore Project
- Part 3 – Setup and Configure TDS
- Part 4 – Setup Sitecore Glass
- Part 5 – Setup Source Control (Git)
- Part 6 – Setup QA Server, DB server and CI server
- Part 7 – Setup Continuous Integration using Team City
- Part 8 – Setup Slack Notifications with TeamCity and Bitbucket
