Sitecore 9.3 was announced at the Sitecore Symposium 2019 and I am excited to share 3 simple commands to get you going on your development machine or laptop. This release is now available from dev.sitecore.net to download.

Command 1 – Install Sitecore Pre-Requisites
As Sitecore moved from version 8.x to version 9.x, the installation process completely changed and required to install additional pre-requisites. There is a long list of pre-requisites and I have seen developers keeping a checklist of software that they need to install for a new instance of Sitecore on their machine or on client’s server. There is an alternative way, which has been part of the installation script since Sitecore 9.1 but not widely used. It is the Prerequisites.json file for installing pre-requisites. The easier and simpler way is to run this SIF command via PowerShell:
This file contains hidden or bidirectional Unicode text that may be interpreted or compiled differently than what appears below. To review, open the file in an editor that reveals hidden Unicode characters.
Learn more about bidirectional Unicode characters
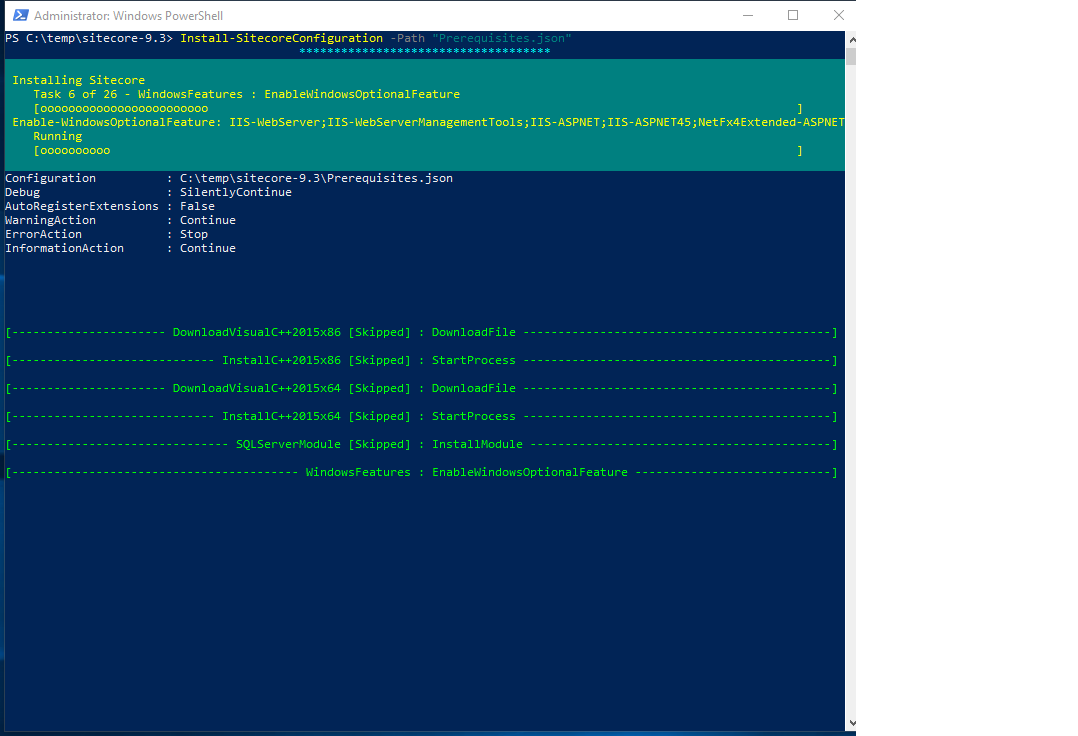
| Install-SitecoreConfiguration –Path “.\Prerequisites.json” |
This command will not only download all of the required software but also install it on your behalf. I recently used this command on a vanilla VM and it took about 12 minutes to download and install everything. Notice in the screenshot below that it skips the already installed components:
Command 2 – Install Solr
For any Sitecore version 9.x to be installed locally, Solr (or Azure Search) is required to be installed and working correctly prior to installing Sitecore. Typically, a developer has to download and install Solr from a zip package, install it as a windows services and also install its SSL certificate (forgot to mention that you need to install Java SDK and setup its home path if you are on a brand new machine!).
Well, all of the above is now thing of the past, just open this Solr-SingleDeveloper.json file, update simple parameters like what version of Solr you want, what port number you would like to associate it with and what should be default install location and run this SIF command:
This file contains hidden or bidirectional Unicode text that may be interpreted or compiled differently than what appears below. To review, open the file in an editor that reveals hidden Unicode characters.
Learn more about bidirectional Unicode characters
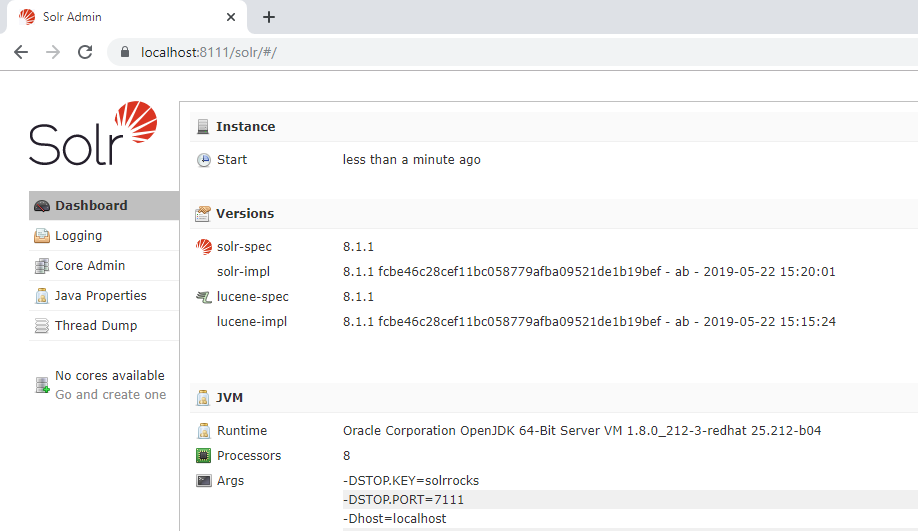
| Install-SitecoreConfiguration ".\Solr-SingleDeveloper.json" |

This is a MAGIC script and it did everything that would have taken anyone several hours to figure out, if it was their first time. Once the command was completed, I verified that the Solr was up and running over the specified SSL port!
Command 3 – Install Sitecore
Lastly, I opened up the XP0-SingleDeveloper.ps1 PowerShell script, change the essential parameters like site name and database parameters and ran the following script:
This file contains hidden or bidirectional Unicode text that may be interpreted or compiled differently than what appears below. To review, open the file in an editor that reveals hidden Unicode characters.
Learn more about bidirectional Unicode characters
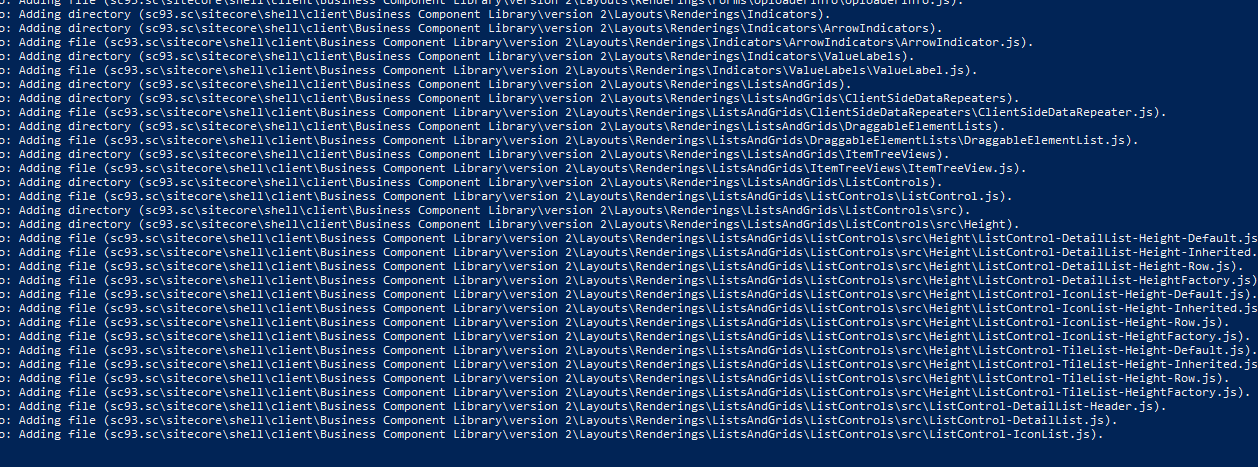
| .\XP0-SingleDeveloper.ps1 |
New Feature: By popular demand there is a new SIF parameter as SitePhysicalRoot. If that is left empty, the default path will be \inetpub\wwwroot otherwise it will be the new path location.
If you have everything installed correctly then you will have a successful installation!!
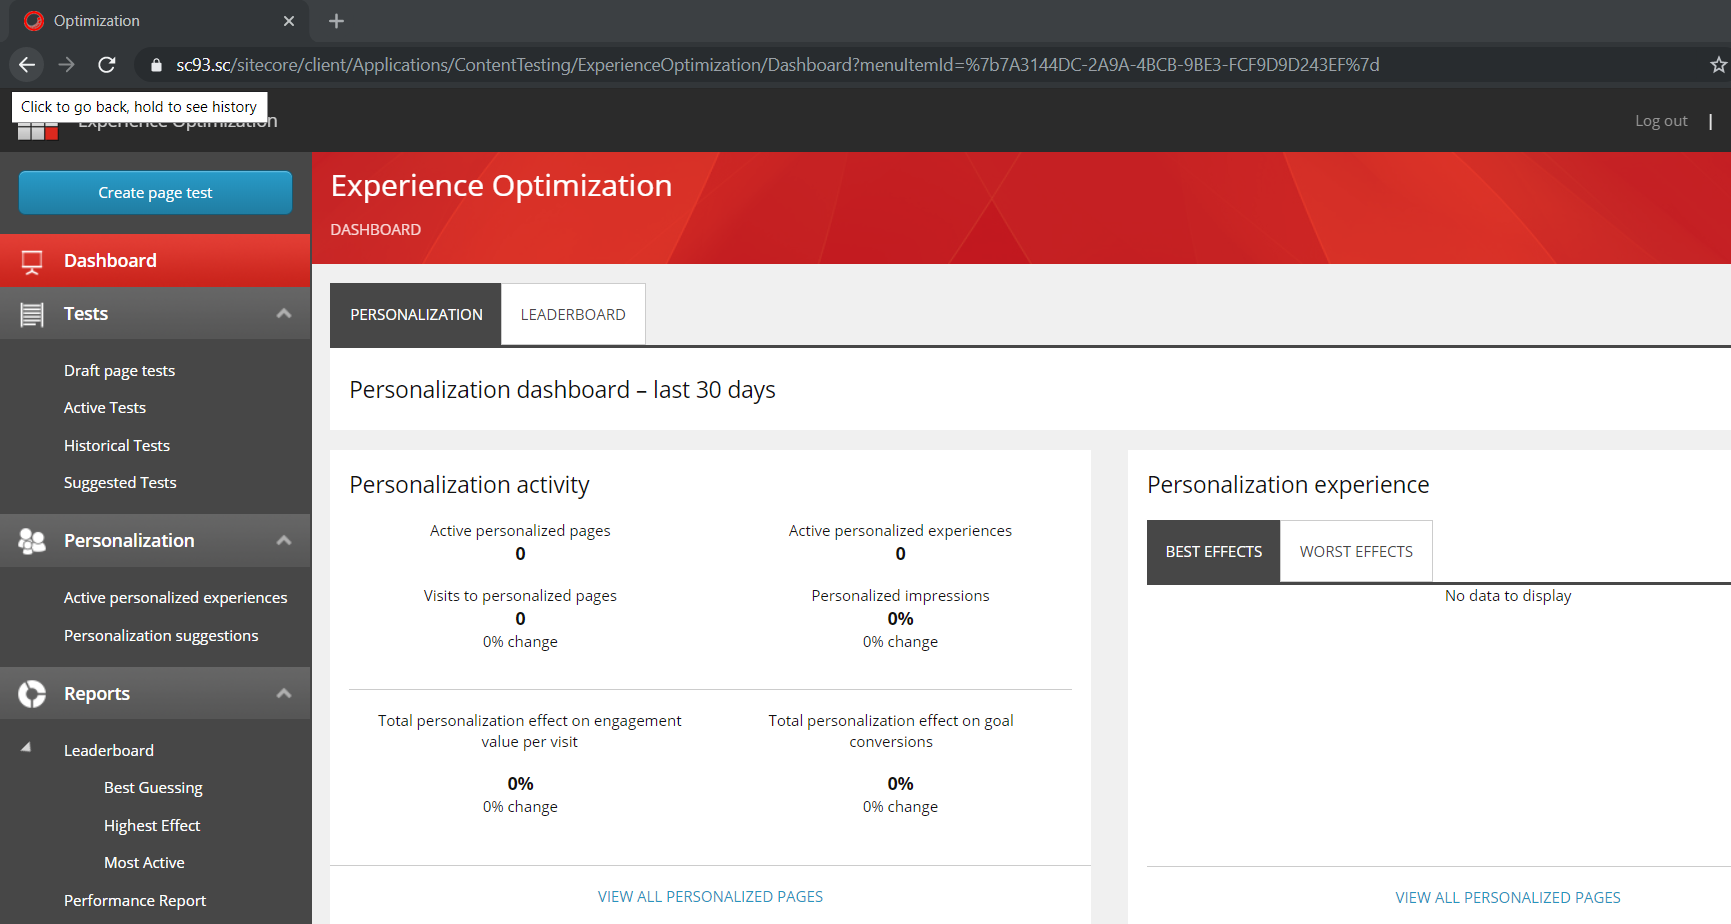
Once the installation was complete, I was able to login (full marks for guessing the password)

I have started exploring the new features like the the new Experience Optimization Dashboard
Happy Sitecoring!
