This is last part of the Sitecore DevOp series. Previously, we have installed a local instance of the Sitecore site, configured VS project, configured TDS, configured Sitecore Glass added our project to source control , congured DB and QA servers and configured CI server. The blog series is aimed at newer audience and developers who are setting up CI for the first time.
There are 2 processes that you need to track during the build:
- Code submissions (check-ins)
- CI build events (start/stop/failures)
By default, we can use emails as notifications whenever CI server triggers a build or when source control detects a check-in, but in my opinion, this is not the most effective way. Depending upon your team size, there may be many check-ins every day, and many CI builds. If you start getting hundreds of emails everyday, you will simply create a rule/folder where all such emails will be directed and forgotten.
Also, not all of your team members will receive such notifications emails and you still have to send a ‘pre deployment’ email to notify team and ‘post deployment’ email to confirm that deployment has ended.
If you are a team lead or QA or PM, I am sure you would have asked or heard questions like these:
‘When are we deploying latest build on QA?’
‘Is our latest build finished on QA?’
‘What all did we deploy?
… and so on.
There are better communication tools out there like Slack or HipChat. You can integrate either of them or another messaging tool of your choice. Personally, I like Slack and will be discussing how to integrate Slack with our TeamCity server and BitBucket project in this blog post.
Step 1: Create a Slack Channel
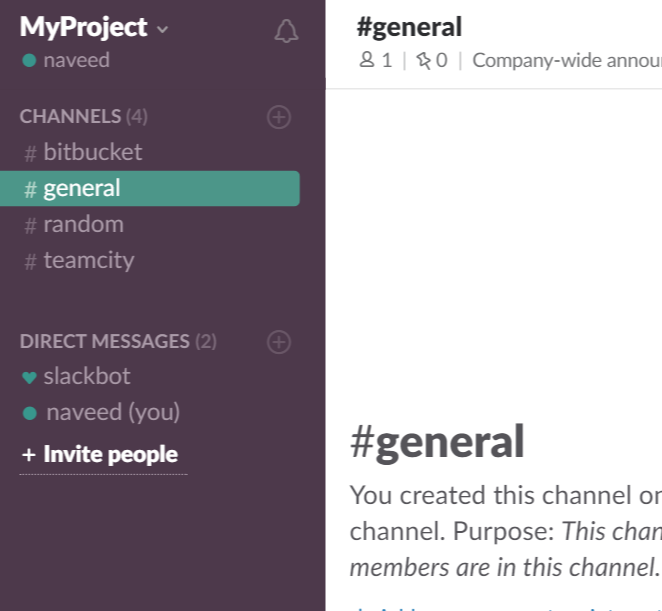
If you don’t have a Slack account, create a free one. Then create a free Slack channel for your project, invite all team members and also create 2 open public channels for incoming notifications:
- #bitbucket
- #teamcity
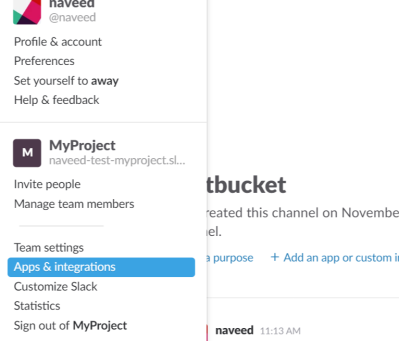
Step 2: Configure TeamCity for Slack Notifications
Navigate to Apps and Integration section and click on the link
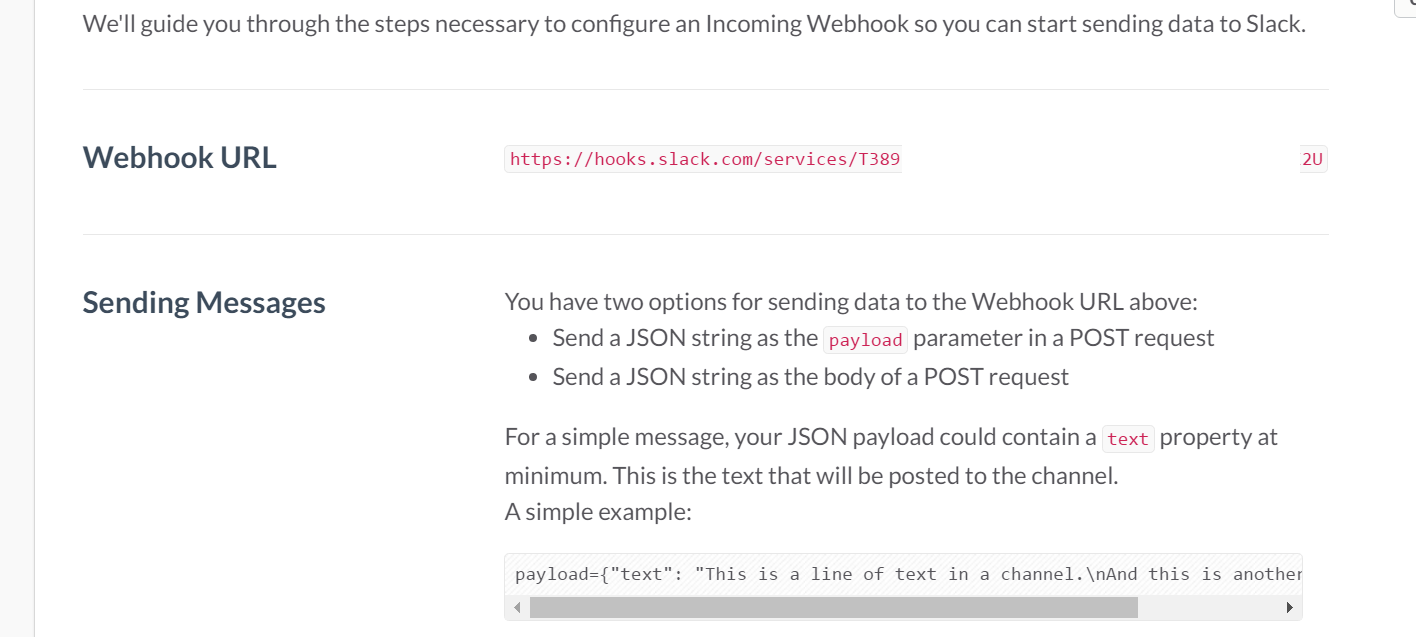
Step 3: Generate a webhook for CI server
Within the slack admin interface, search for incoming hooks:
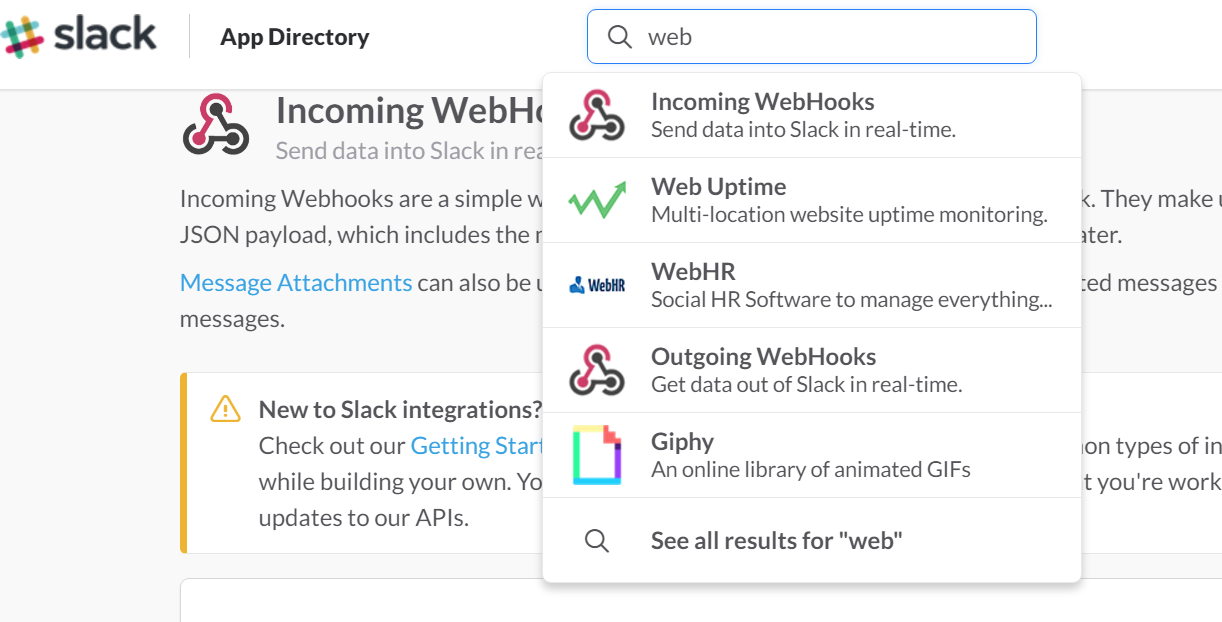
Select ‘Incoming Webhook’ and then select the one of your channel:
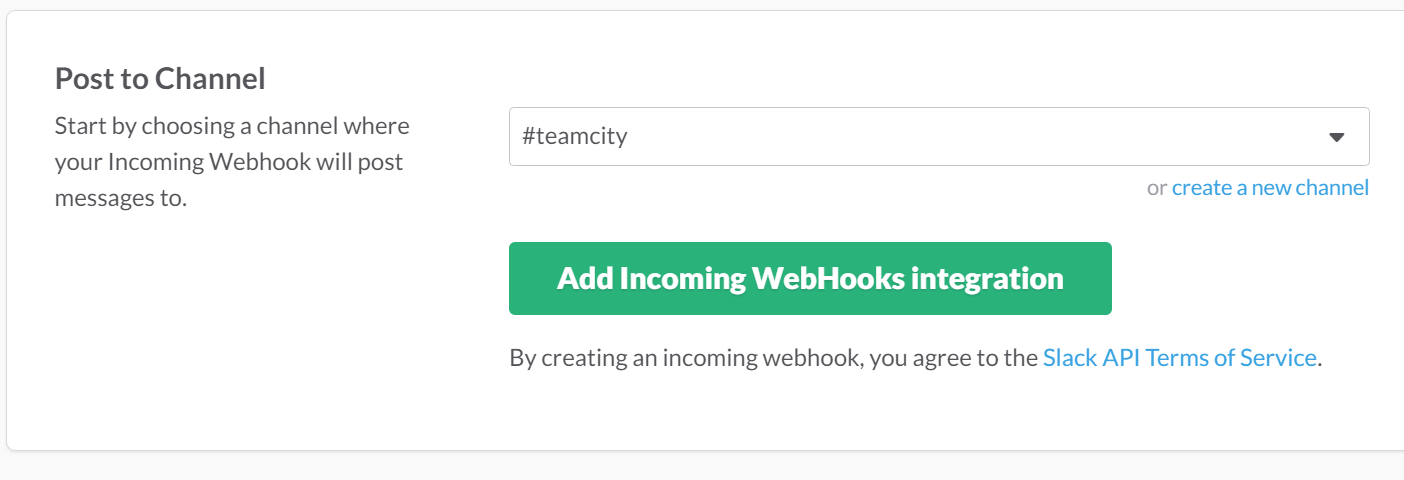
Once you click Add Incoming WebHooks integration, it will generate a unique Webhook URL, copy this URL for later.
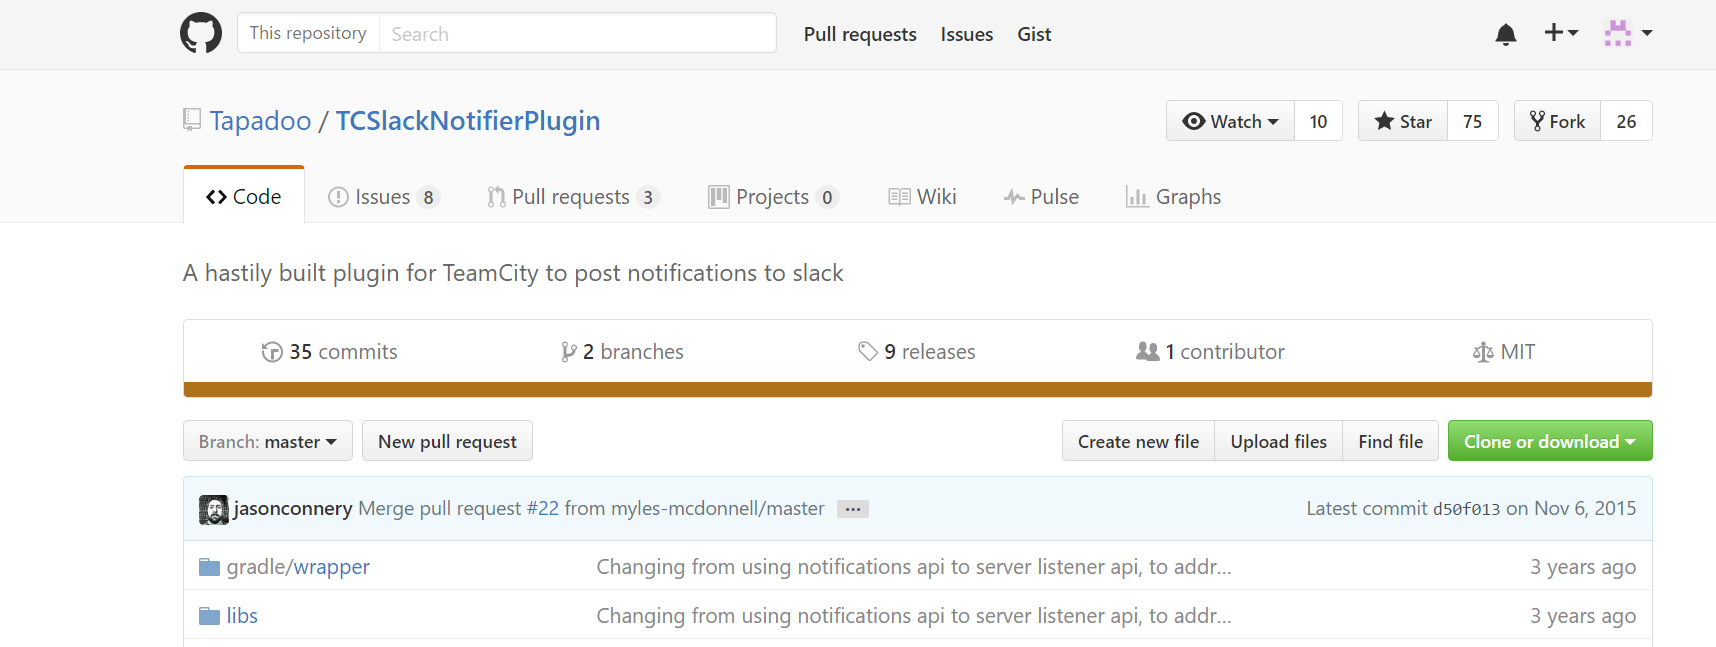
Step 4: Install a Slack plug-in for TeamCity
Download a TeamCity plug-in for slack notifications and install it as per the instructions on the documentation
There is no admin interface for setting up the incoming hook for the plug-in as of now. So you have to RDP and update a config settings to the relevant web hook
<slackNotifier postSuccessful="true" postFailed="true" postStarted="true">
 <slackDefaultChannel>#teamcity</slackDefaultChannel>
 <slackPostUrl>https://hooks.slack.com/services/xxxxxxx/yyyyyy</slackPostUrl>
 <slackLogoUrl>http://build.tapadoo.com/img/icons/TeamCity32.png</slackLogoUrl>
 </slackNotifier>
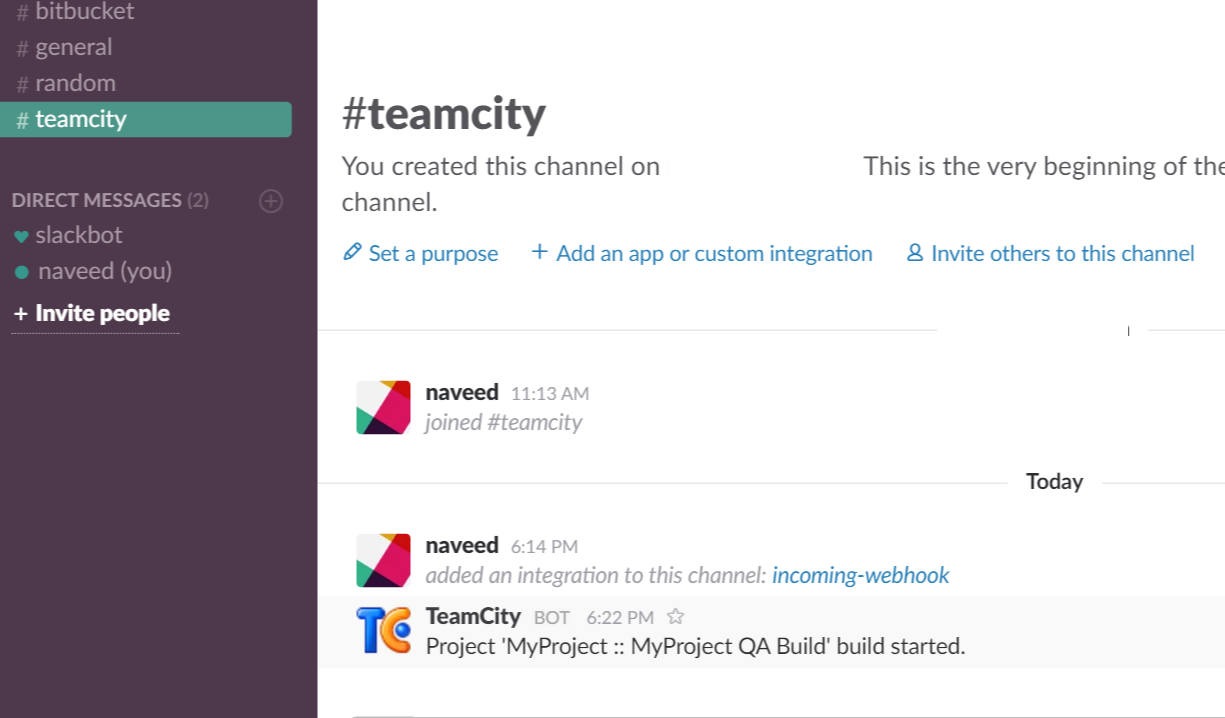
Once it is installed correctly, for every build start, build finished and build failed you and every team member will get a notification in the channel. How cool is that 🙂
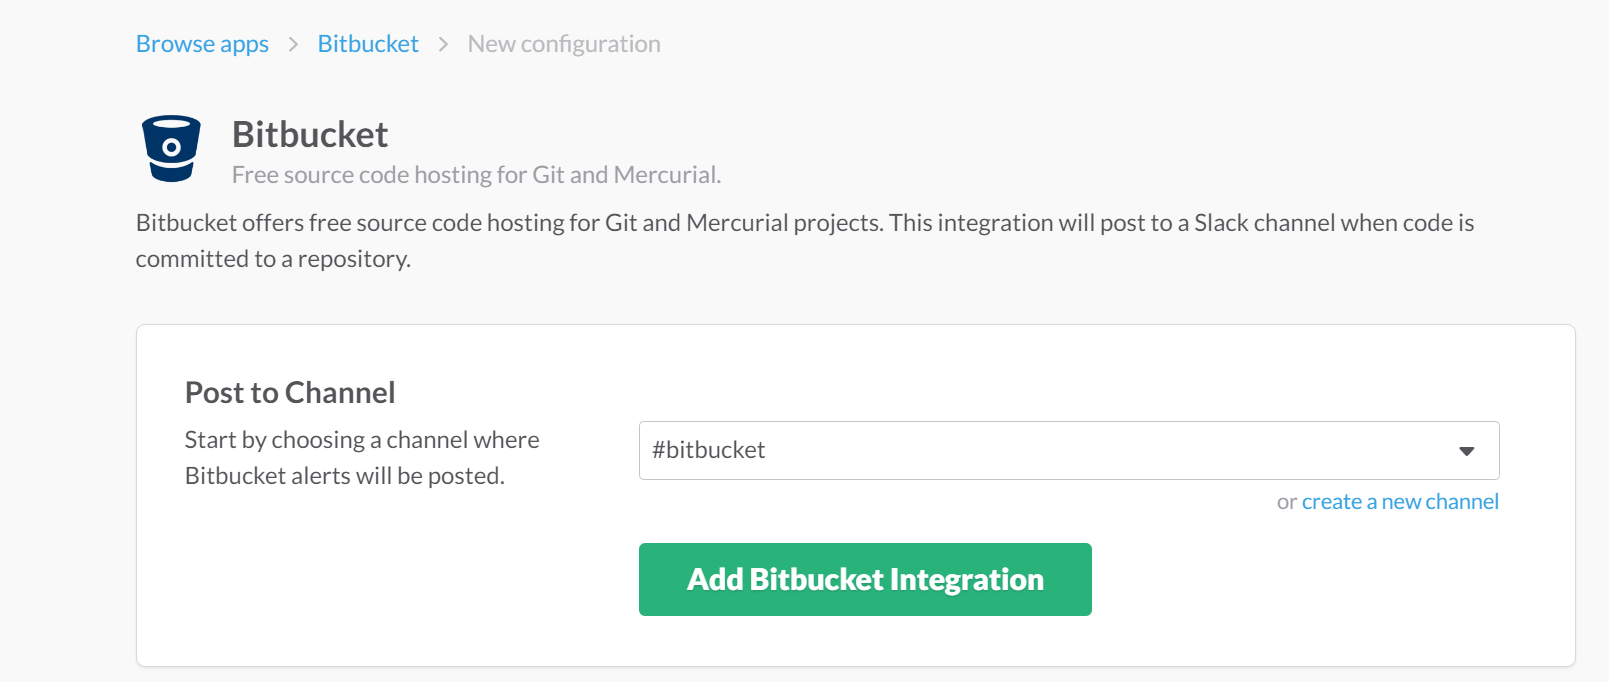
Step 6: Generate a webhook for BitBucket
Slack is also very friendly with BitBucket source control. Search for a BitBucket integration on Slack and generate a Webhook URL for your #bitbucket channel
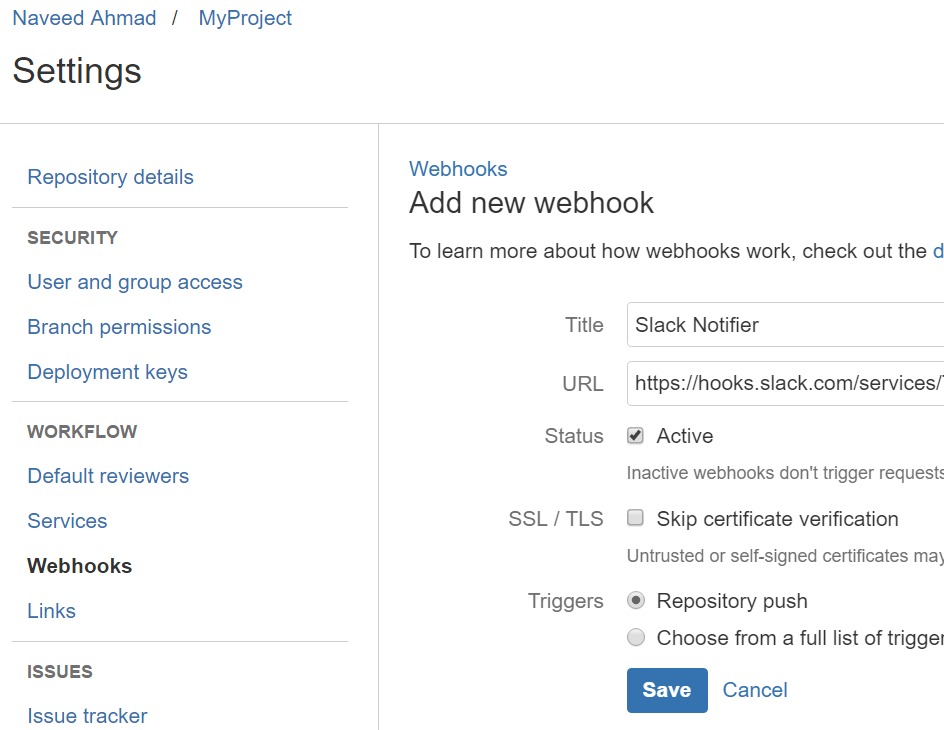
Step 7 : Configure Bitbucket
Within your bitbucket admin interface for the project, navigate to settings and add a new webhook for the channel. Copy/paste the URL that was generated.
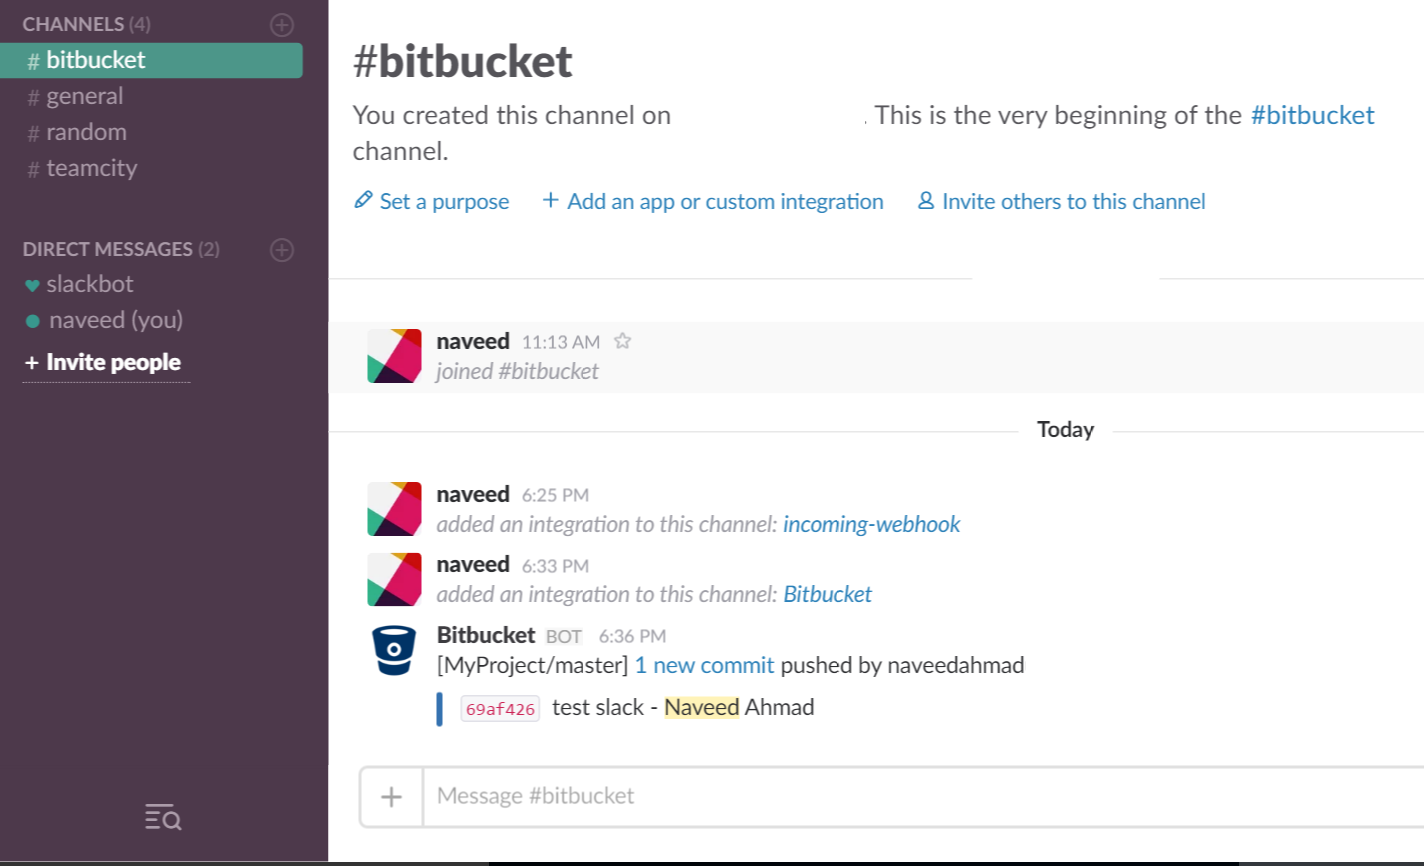
Once it is done, commit and push some changes, you will start getting notifications in Slack!
…
So now every time someone in your team is going to do a check-in, you and all your team will get a notification. Install Slack for mobile and desktop and keep tracking those notifications.
With this blog post, we have come to the end of the Sitecore DevOp Series.
Thanks for the reading the blog post and the series, I hope it will benefit the Sitecore community. Any comments feedback will be appreciated.
Naveed.
Updated April 2017
My Talk at DC Sitecore User Group
Short video demo
Updated September 2017
Extending To Helix Principles
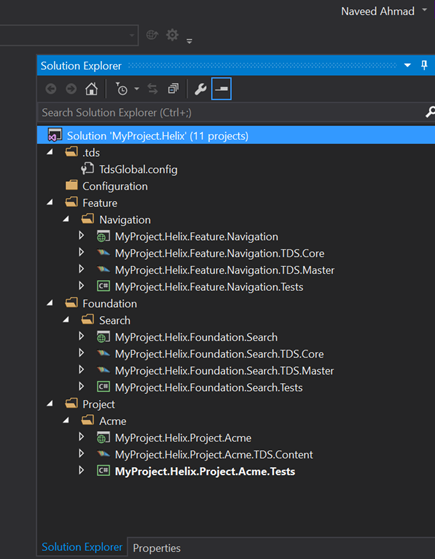
The project setup shown in blog series was simple as it was intended for the newer audience and I didn’t want to add complexity of Helix principles. Having said so, if you are starting a new project based upon Helix principles, you can easily extend the automated deployment setup as shown below.
All you have to do is add foundation, feature or project specific TDS projects for content item serialization and add additional steps for TDS projects in the Team City server. More details about deployments using helix principles can be found here
Related Blogs
- Part 1 – Continuous Integration – Why your Sitecore project deployments must be automated ?
- Part 2 – Setup and Configure Visual Studio Sitecore Project
- Part 3 – Setup and Configure TDS
- Part 4 – Setup Sitecore Glass
- Part 5 – Setup Source Control (Git)
- Part 6 – Setup QA Server, DB server and CI server
- Part 7 – Setup Continuous Integration using Team City
- Part 8 – Setup Slack Notifications with TeamCity and Bitbucket
