Recently, I had to work on an application which used MongoDB as a back-end database. As it was my first MongoDB based project using C#, I went through a learning curve and thought it will be a good idea to do a step-by-step guide. So, if you are new to MongoDB, here is a quick post to get you up and running
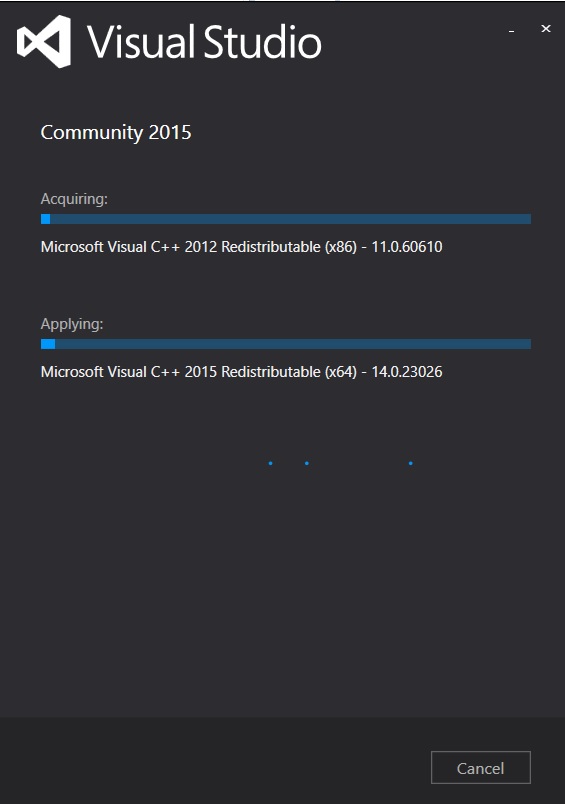
Step 1: Download and install VS 2015 Community edition, it’s free for personal use with registered email address!
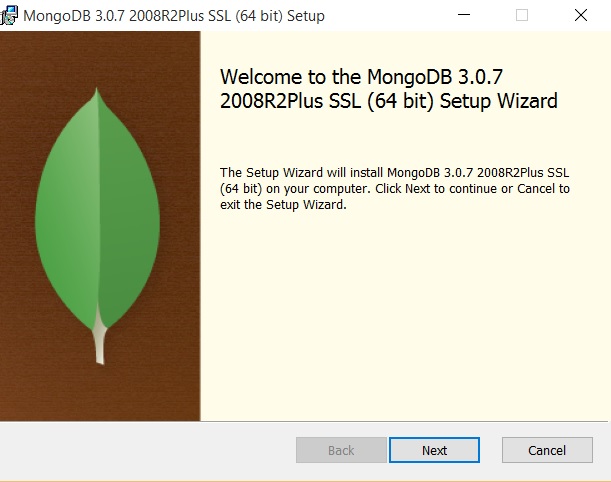
Step 2: Download MongoDB and install it on your local machine.
Step 2.1 Create a data directory or empty folder at C:\data\db (this is the default location for MongoDB to store files, but can be changed)
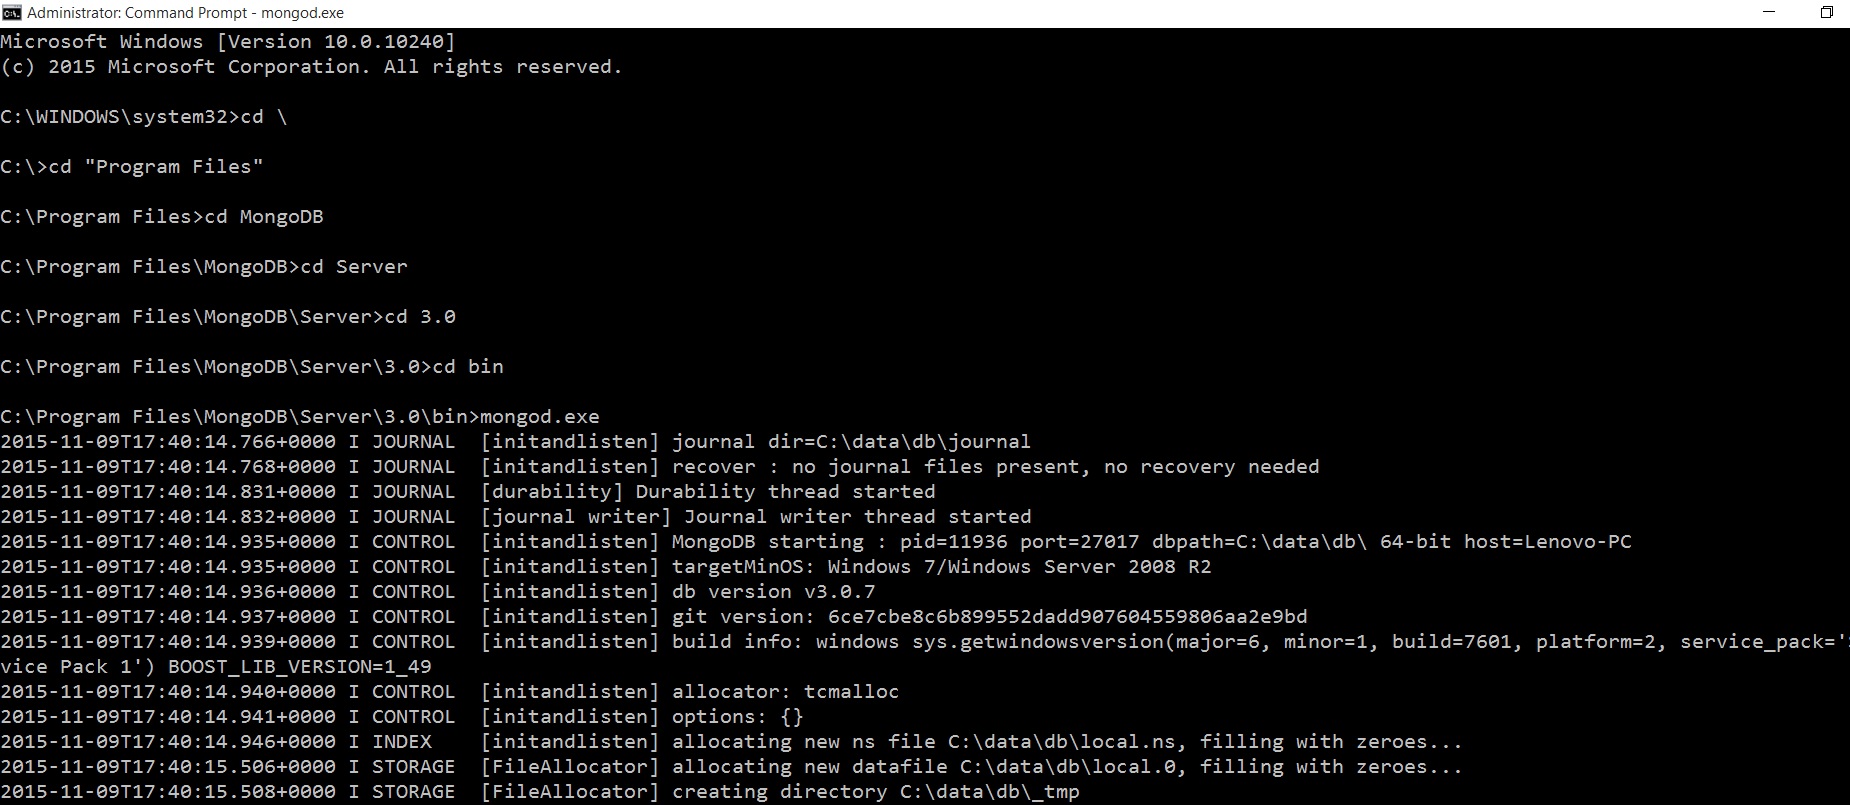
Step 2.2 Open CMD with administrative privileges and navigate to MongoDB install folder and start mongod.exe program. In my case the path was C:\program files\mongodb\server\3.0\bin and then the command mongod.exe
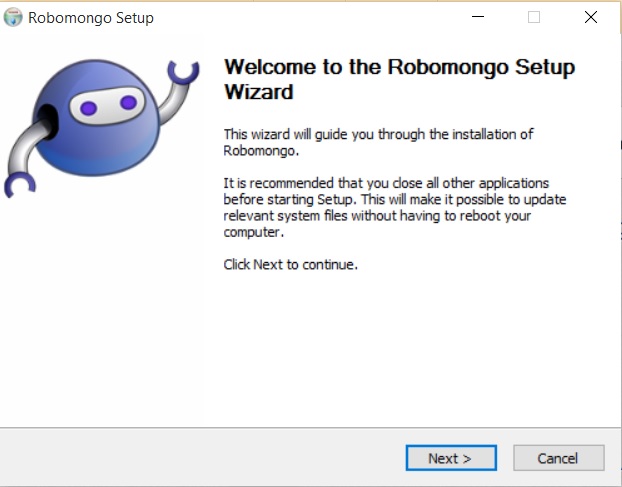
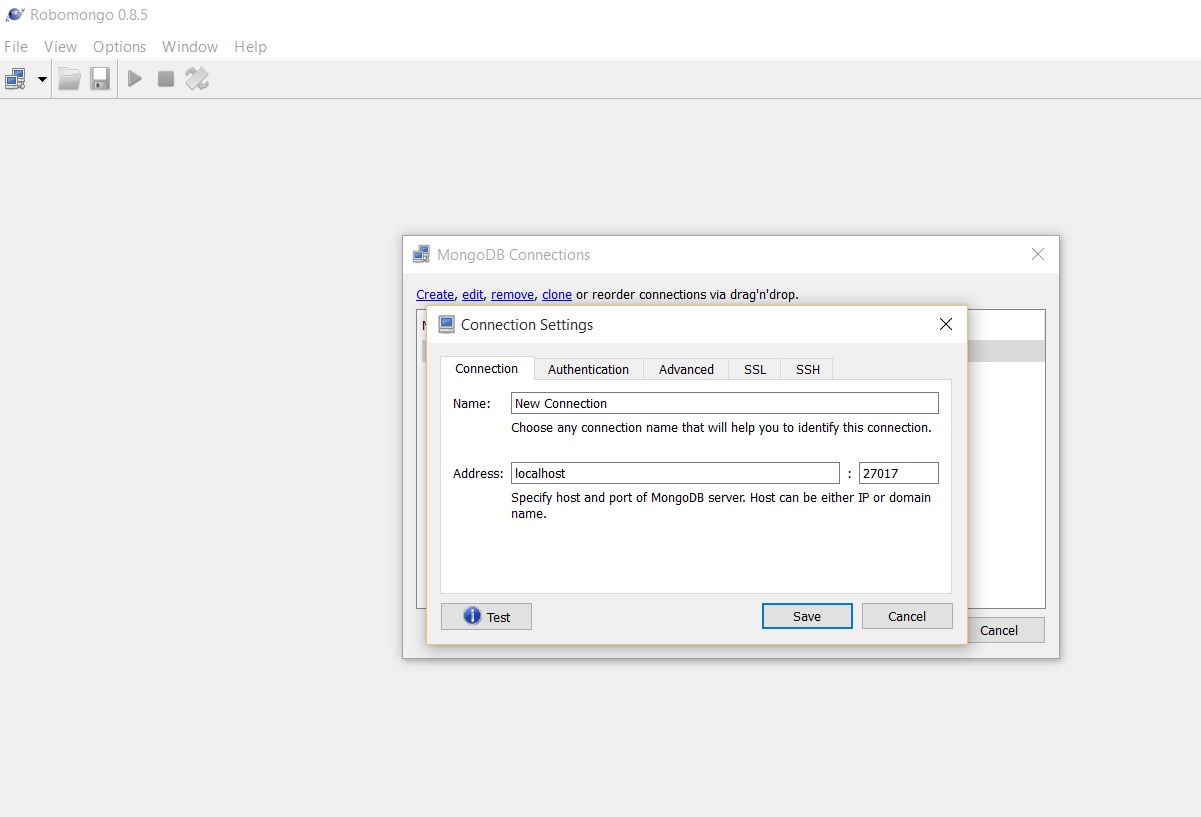
Step 3: Download RoboMongo which is an open-source GUI for MongoDB management.
Step 3.1 Assuming MongoDB is up and running, create a new “localhost” connection and test it.
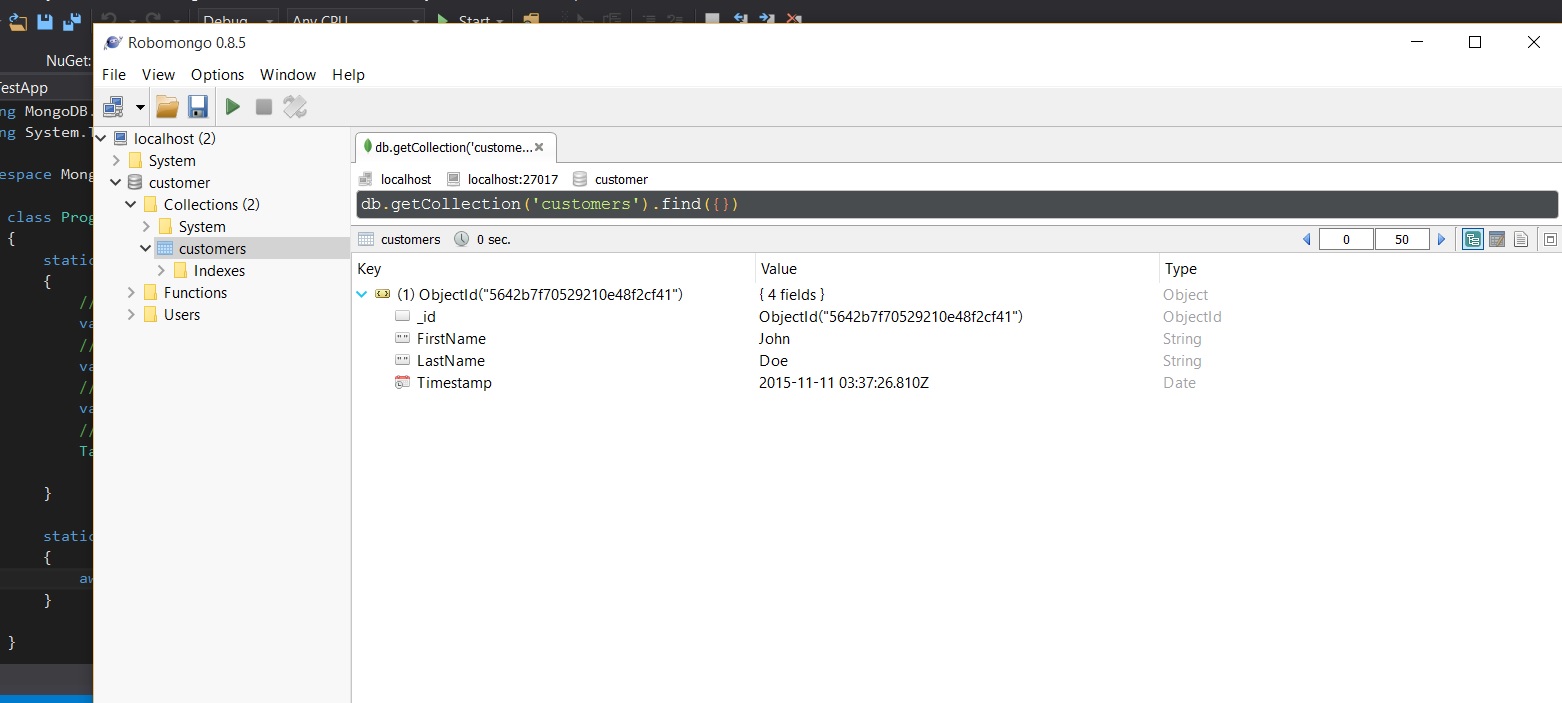
Step 3.2 Click on View > Explorer and you will see list of localhost DBs.
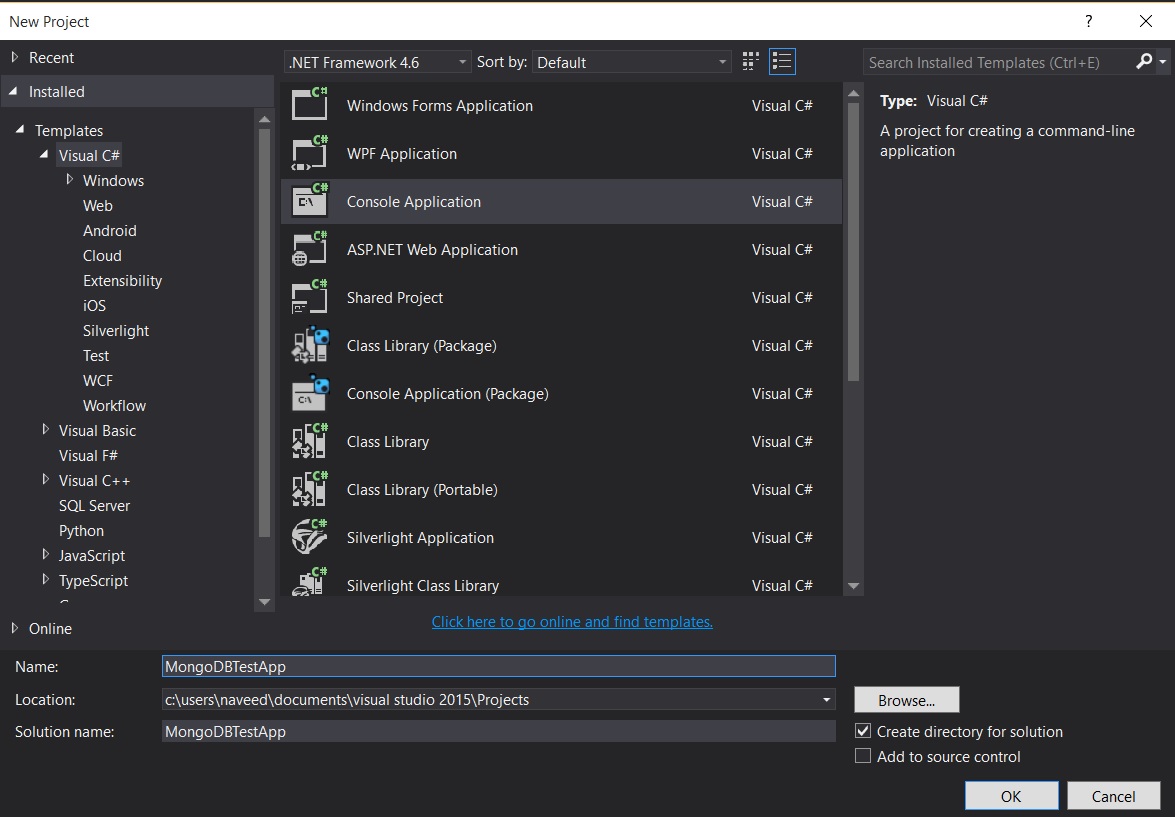
Step 4: Open VS 2015 and create a new Console Application (for production purposes, you might need a class library, but for demo I am using console application)
Step 5: Right click on References > NuGet Packages and install ‘Official .NET Driver for MongoDB’

Step 6: Create your collection class, for purpose of this blog, I have created a Customer class.
using MongoDB.Bson;
using MongoDB.Bson.Serialization.Attributes;
using System;

namespace MongoDBTestApp
{
    public class Customer
    {
        //required field to perform read/write opertions on Bson or Binary Json
        [BsonElement("Id")]
        public ObjectId Id { get; set; }

        //C# 6.0 property initializers
        public string FirstName { get; set; } = "John";
        public string LastName { get; set; } = "Doe";
        public DateTime Timestamp  { get; set; } = DateTime.UtcNow;
    }
}
Step 7: Insert objects as collection in Mongo DB
using MongoDB.Driver;
using System.Threading.Tasks;

namespace MongoDBTestApp
{
    class Program
    {
        static void Main(string[] args)
        {
            //creates a MongoDB client from conn string
            var client = new MongoClient("mongodb://localhost");
            //gets the database within client, if it doesn't exists, creates it
            var database = client.GetDatabase("customer");
            //gets the collection from the database,if it doesn't exists, creates it
            var collection = database.GetCollection("customers");
            //insert into database
            Task.WaitAll(InsertCustomer(collection));

        }

        static async Task InsertCustomer(IMongoCollection collection)
        {
            await collection.InsertOneAsync(new Customer());
        }

    }
}
Step 8: Find your object from Mongo DB and display it
 static async Task FindCustomer(IMongoCollection collection)
        {
            //creates a filter to find Bson Document
            var filter = Builders.Filter.Eq(c => c.FirstName, "John");
            //runs the query to find it
            var query = await collection.Find(filter).ToListAsync();
            //gets the customer
            var customer = query.FirstOrDefault();
            //displays the customer using new C#6 string formatters
            Console.WriteLine($"Customer {customer.FirstName} {customer.LastName} is found!");

        }
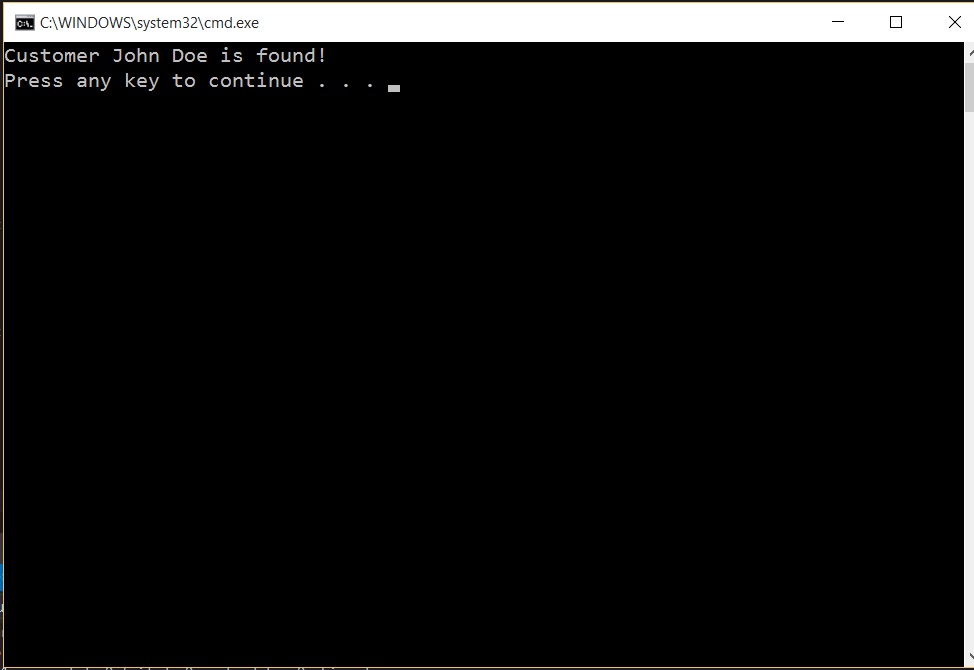
What you have now is a fully functional MongoDB application where you can store records and retrieve records, how easy was that!
All code is available from GitHub.
Thanks
Naveed.
