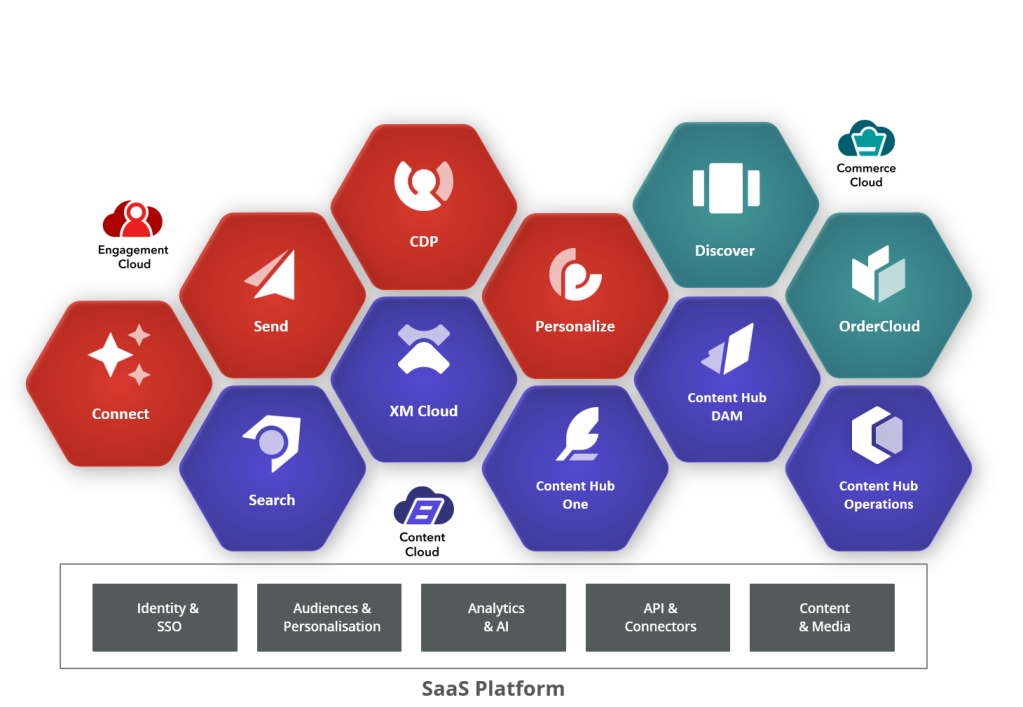
On a fine Friday afternoon, I was working on a project, but suddenly I got a call from the business development team that they will be meeting a client next week, and the client was interested in seeing the ‘Sitecore Commerce Cloud’ demo. Can you help?
Traditionally, this would involve getting developers and technical folks from your organization, but with the introduction of the Sitecore Demo Portal, partners and marketers can achieve this task with a few clicks of buttons, and the demo will be ready in under an hour!
The only requirement for using this portal is to be a Sitecore partner and have a valid email account associated with your organization. As I have a partner’s account, the blog post will show how easy it is to set up a Sitecore Commerce Cloud demo.
Let’s do this!
Step 1
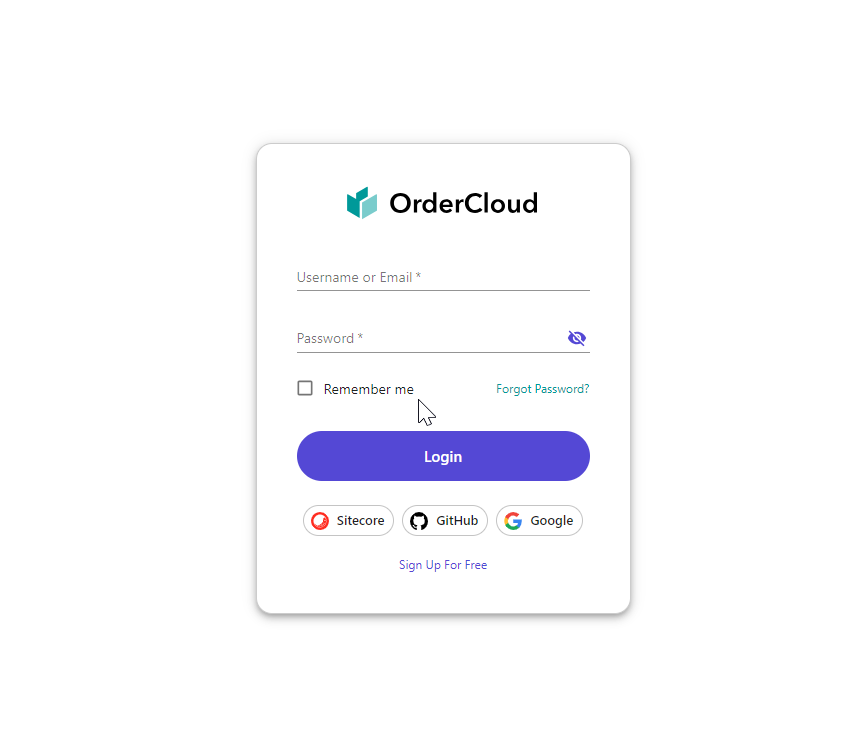
If you don’t have a Sitecore OrderCloud login, create your free account at https://portal.ordercloud.io/login
(Remember your username and password, you will need them in step 5)
Step 2
Use your Sitecore partner’s account details and log in at https://portal.sitecoredemo.com/

(If you don’t have this partner’s account, but you are a partner organization, create one free from https://partners.sitecore.com/ using your corporate email account. If you are a developer, this is the same account that you would have used to open Sitecore support tickets)
Click on ‘Get a Demo‘ from the header and then click ‘OrderCloud.’

Step 3
There is only one option here, click on the PLAY! Shop

Step 4
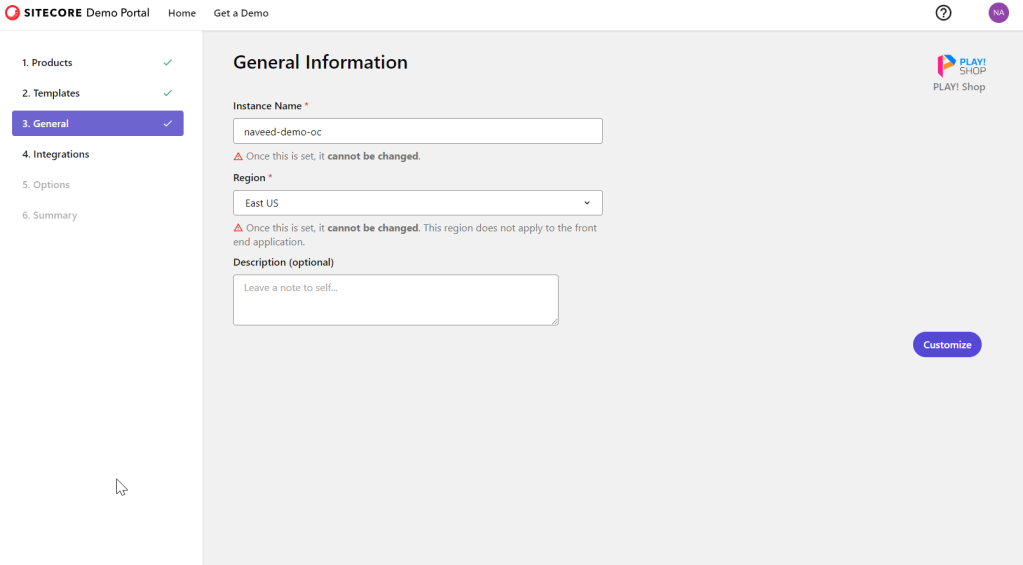
Give a unique name, select a deployment region and click ‘Customize‘
Step 5
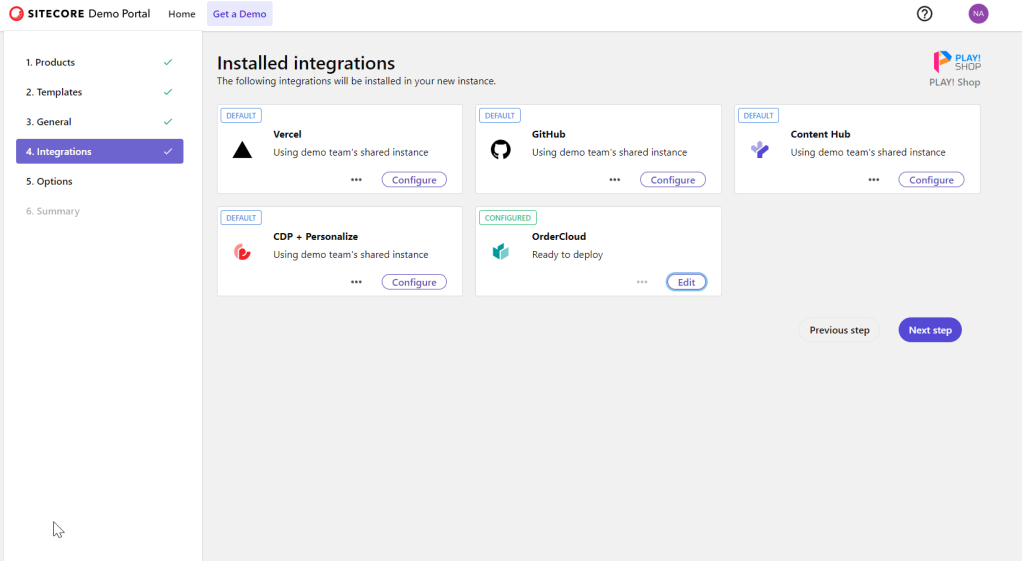
The only thing that needs to be configured here is the connection to the OrderCloud portal. This connection can be configured using the same username/password combination that was created in Step 1 (or if you already had an OrderCloud portal account)
5.1- Click on the ‘Configure‘ button under ‘OrderCloud‘ section

5.2 – Click on the ‘Add Connection‘ button in the pop-up

5.3- This will open up a new tab, click on the ‘Add Connection‘ again under the ‘OrderCloud‘ tab. In the pop-up, enter your username/password details. Give a suitable name for your connection. Click on the ‘Validate‘ button.

Once confirmed, you can close this browser tab.
5.4- Navigate back to the main portal, select the connection via drop-down

5.5- If you have done everything correctly, you will see a ‘Configured’ message on the OrderCloud section. Click ‘Next Step‘ to proceed.
Step 6
The step will let you know that the demo will auto-shutdown at 8PM of your local time. Leave it as is and click ‘Next Step‘. If it shuts down, you can restart it again next day.

Step 7
Review the information and click on the Deploy button!

Make yourself a coffee and wait for about 10-15 minutes. On successful deployment, you will get an email notification.

(Note: It is possible that deployment may fail due to networking or some other issue, review the errors and try again or contact Sitecore support via Slack.)
Step 8
Once your demo is ready, you will see a number of services provided by the demo portal.

Click on the Shop link and view the PLAY! Shop demo!
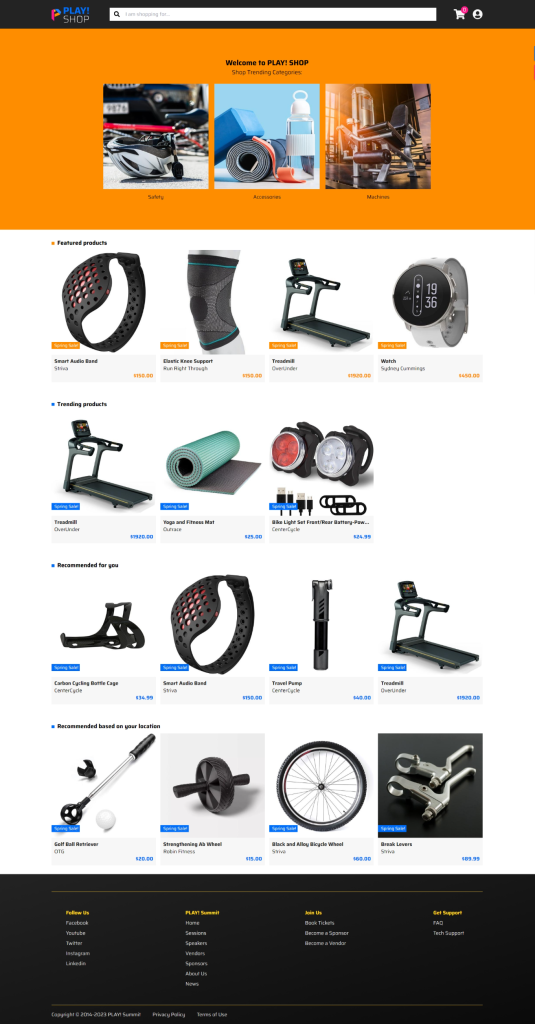
That’s it! You have a demo ready for the client.
There is a link in the installed instance services links as ‘Demo Scenarios‘ that gives a detailed breakdown of various aspects of the PLAY! Shop. It is highly recommended that you view that and get familiar with the website.
A huge shout out to the Sitecore Demo Portal team for providing us with such a fantastic portal to quickly set up demos. The code repo is open source and provided by Sitecore at https://github.com/Sitecore/Sitecore.demo.edge
References
- https://developers.sitecore.com/commerce/ordercloud
- https://developers.sitecore.com/commerce/discover
Please note the PLAY! Shop is not Sitecore Commerce Cloud. It is an implementation powered by Sitecore OrderCloud and Sitecore Discover, just like in the past we had Lighthouse or Habitat implementation powered by Sitecore XP or XM.