This is the part 4 of the Sitecore DevOp series. Previously, we have installed a local instance of Sitecore, created it’s VS project solution and added TDS projects. In this blog post, we will configure Sitecore Glass Mapper for automated code generation using T4 templates. The blog series is aimed at newer audience and developers who are setting up CI for the first time.
Sitecore Glass
Sitecore Glass is an Object-Relation-Mappper (ORM) for Sitecore items. A common ORM that you may have worked previously would be Linq to SQL. Sitecore Glass helps in referencing Sitecore data item properties by using strongly typed C# objects. It is an open-source project and more information and tutorials are available from their official website.
Step 1 : Install Sitecore Glass for domain project
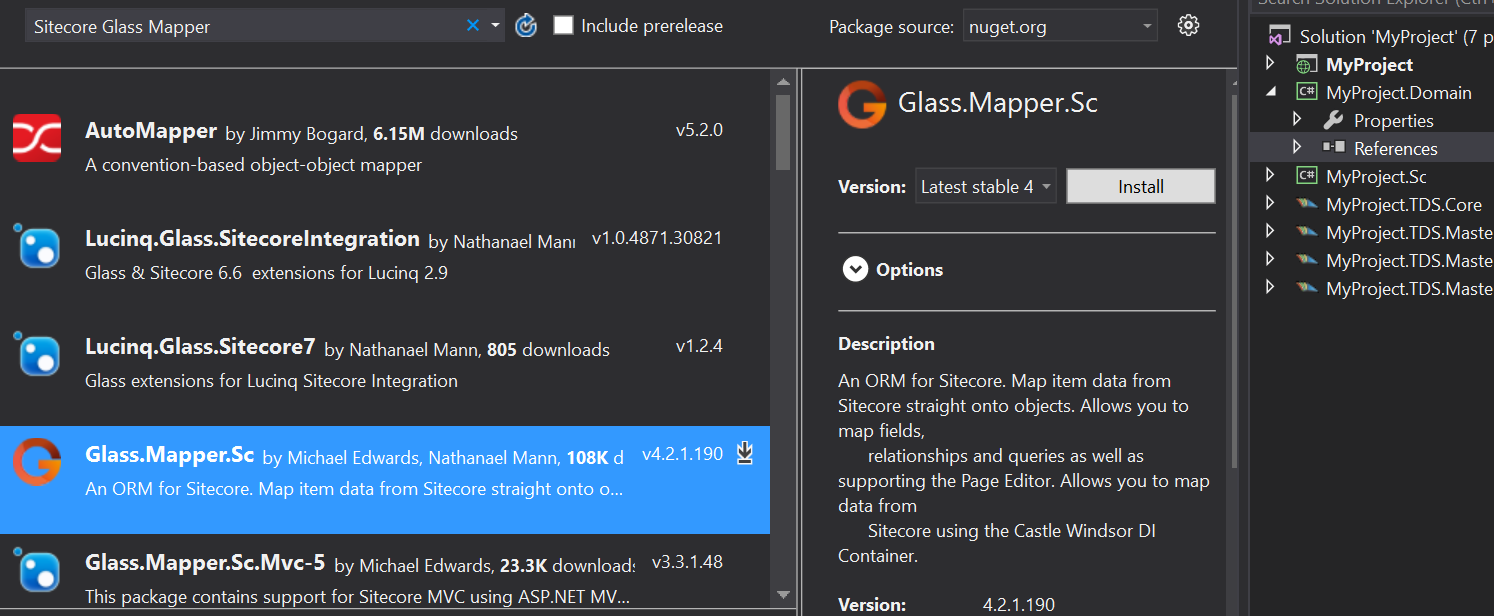
Sitecore Glass Mapper is available as NuGet package from the official Nuget feed server.
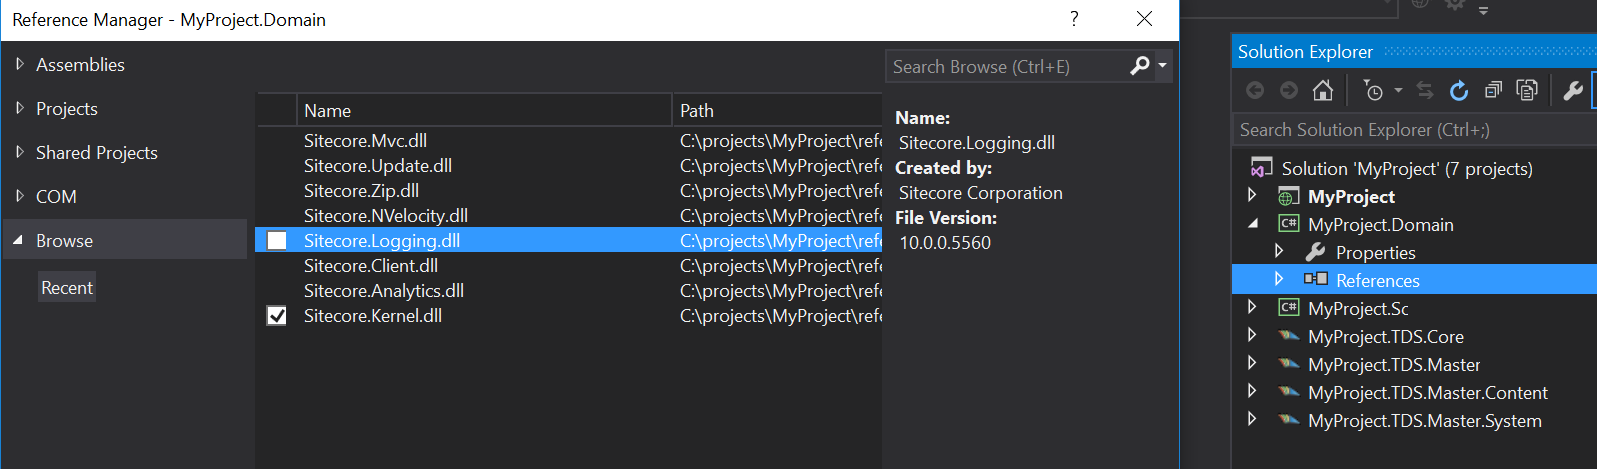
Assuming you have setup the ‘MyProject.Domain’ as per the previous post of the blog series, add a reference to the ‘Sitecore.Kernel.dll‘ within ‘MyProject.Domain‘ project:
Then add the official package via NuGet:
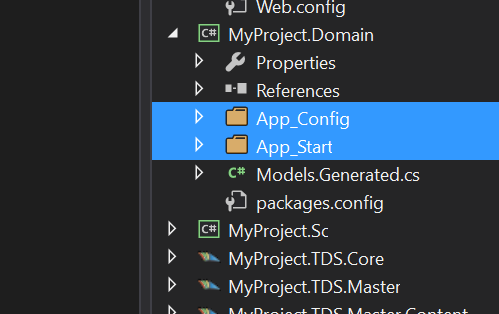
Remove the ‘App_Config‘ and ‘App_Start‘ folders from the ‘MyProject.Domain‘ project and add a custom class file as ‘Models.Generated.cs‘
Step 2 : Install NuGet package for main project
Install the same NuGet package for the ‘MyProject‘ , which is your main MVC project.
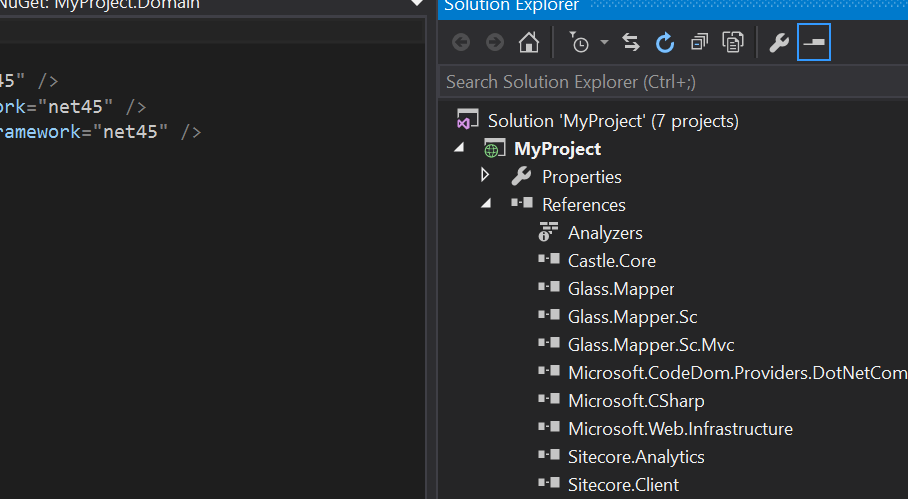
As of now, upon successful installation, you should see references to Glass.Mapper, Glass.Mapper.Sc and Glass.Mapper.Sc.Mvc.
Step 3 : T4 Templates for Auto-Code Generation
As a starter, download the T4 templates as provided by the HedghogDevelopment github repository .
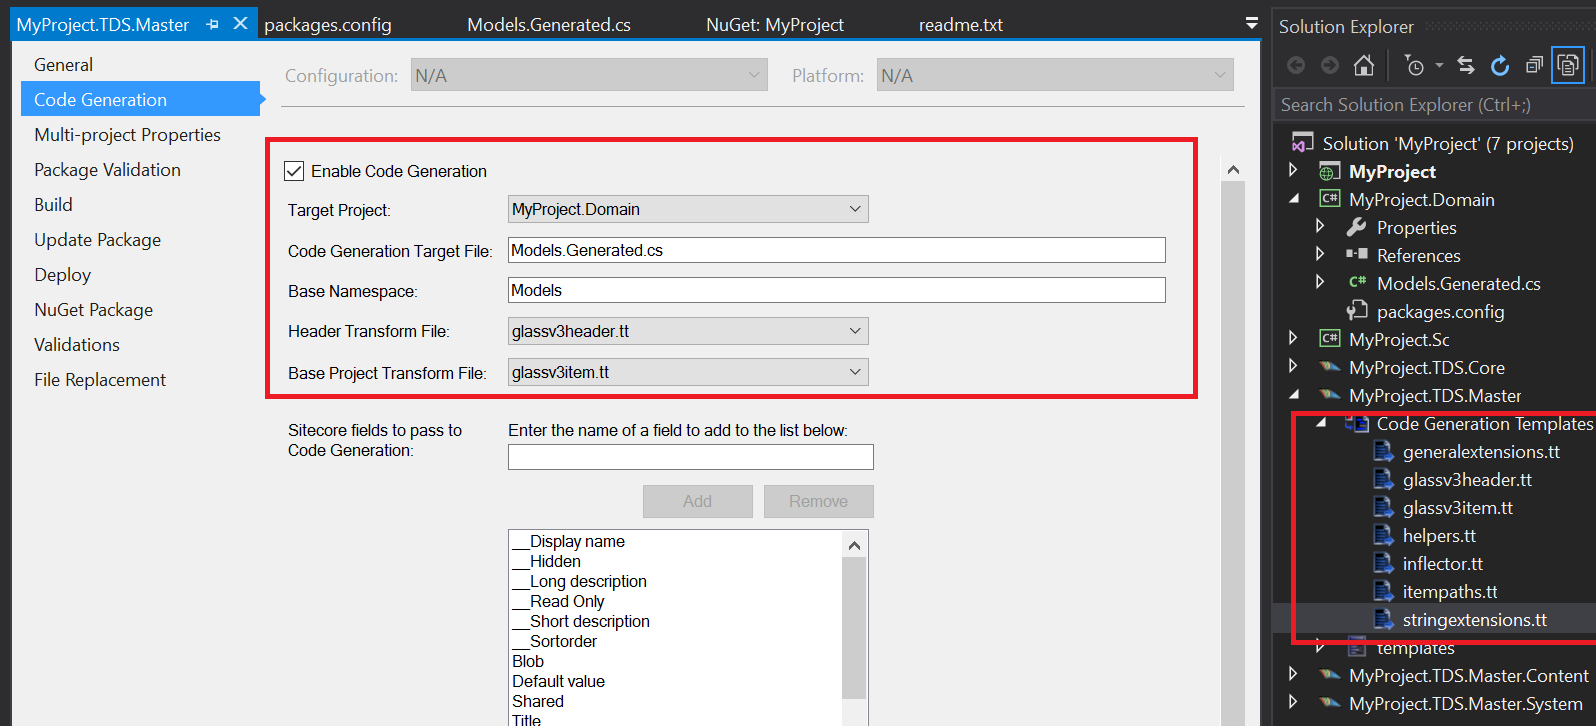
- Navigate to ‘TDS.Master’ project properties > code generation tab and check the box for ‘Enable Code Generation’. A folder will appear in the VS tree view as ‘Code Generation Templates’.
- Copy the downloaded T4 Templates files (with extensions .tt) that you downloaded from github within that folder and include them in the project via VS.
- Set the Target Project as ‘MyProject.Domain‘
- Set the code generated file as ‘Generated.Models.cs‘
- Set the base name as ‘Models‘
- Set the header transform file as glassv3header.tt
- Set the base project transform file as glassv3item.tt
When you hit save, the Models.Generated.cs should give you auto-generated code for the ‘Sample Item‘ template as below:
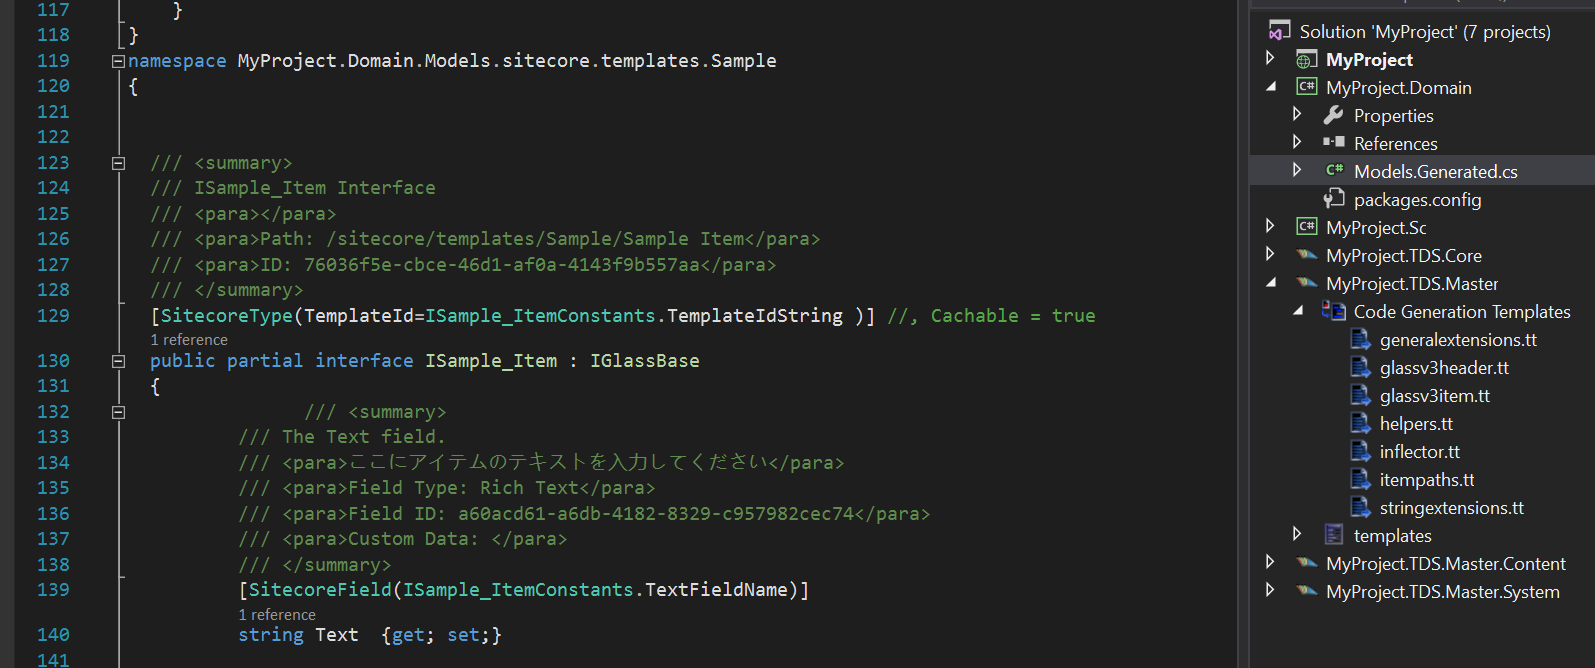
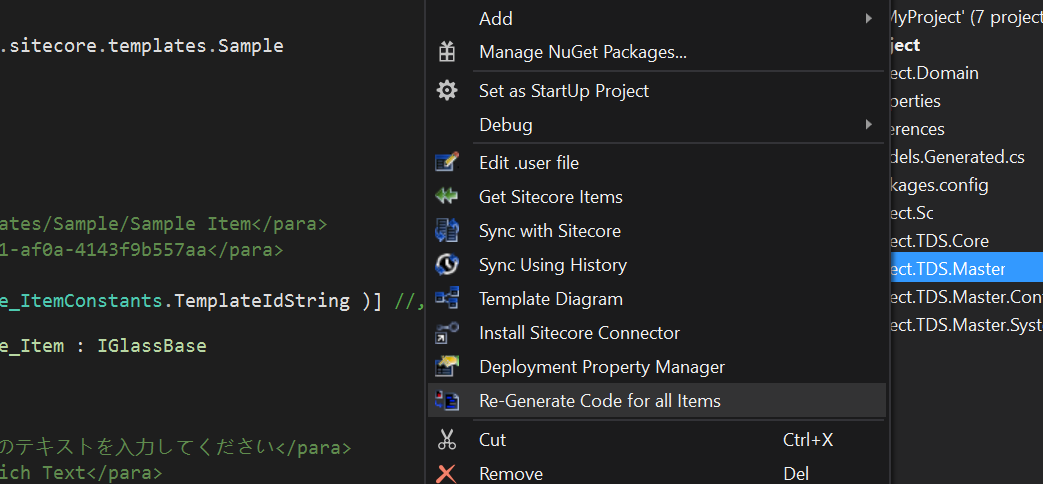
This is pretty amazing if you are doing it for the first time as now you can auto-generate your Sitecore data template properties and reference them in your main project as strongly typed objects. Every time you make a change to Sitecore templates, all you have to do is right-click the TDS.Master project, do a sync with Sitecore and it will update the code base. You can also ‘Re-Generate code for all items‘ as shown below:
Adding reference to Glass mapper and configuring TDS project with code generation will make sure that any field name changes that you make in data templates are reflected back in the code. If there are any compilation issues due to referencing make sure you .NET version is correct.
We are all done in setting up the project locally, the next step is to add our project to a choice of our source control so it can be shared with rest of the team and with our build server. This will be explained in the next blog post.
Stay tuned.
Thanks
Related Blogs
- Part 1 – Continuous Integration – Why your Sitecore project deployments must be automated ?
- Part 2 – Setup and Configure Visual Studio Sitecore Project
- Part 3 – Setup and Configure TDS
- Part 4 – Setup Sitecore Glass
- Part 5 – Setup Source Control (Git)
- Part 6 – Setup QA Server, DB server and CI server
- Part 7 – Setup Continuous Integration using Team City
- Part 8 – Setup Slack Notifications with TeamCity and Bitbucket
