In previous blogs of the DevOp series, we have installed a local instance Sitecore and configured our VS for the sample Sitecore project. In this blog, we will add Team Development for Sitecore (TDS ) projects to our VS project. The blog series is aimed at newer audience and developers who are setting up CI for the first time.
Why do I need TDS ?
TDS is a great product for developing Sitecore projects. If you have not used it before, I would strongly recommend using it for your existing and new projects. The TDS seamlessly integrates with the Visual Studios and gives you a lot of options to manage Sitecore items. One of the main feature of TDS is that you can store Sitecore Items as serialized files on your local machine and push them to the source control repository. The development team can get the latest from source control, sync changes using TDS commands and update their local instance of Sitecore databases. This feature alone will save you and your team hundreds of hours development time.
The TDS can also automatically package up the data template changes for installations and deployments. It also gives you many more advance features for continuous integration which you can read on their official site.
Setup TDS Projects
Technically, you can have just one TDS project for your website and also configure it for continuous deployment. However, inspired from Pavel’s blog and personal experiences, in this series we will be setting up the following 4 TDS projects
- MyProject.TDS.Core
- MyProject.TDS.Master
- MyProject.TDS.Master.Content
- MyProject.TDS.Master.System
TDS.Core project will be used to store any Sitecore’s Core database items like custom profile item or a new field type information.
TDS.Master project will be used to store Sitecore’s Master database items that are more specific to developers like templates, renderings, layouts, placeholder settings.
TDS.Master.Content project will be used to store Sitecore’s Master database items under the ‘Home’ node. If you have multiple sites, you can have multiple TDS.Master.Content projects, one for each site.
TDS.Master.System project will be used to store Sitecore’s Master database items under ‘System’ node. The ‘System’ node have items like ‘Workflow‘ or ‘Publishing Targets‘ or ‘Sitecore Powershell Scripts‘ that should be part of the source control, but we don’t necessarily need to deploy them every time.
All of the above TDS projects are optional and are meant for simplifying the deployment process as you will see in coming posts of the blog series.
Step 1 : Create TDS.Core project
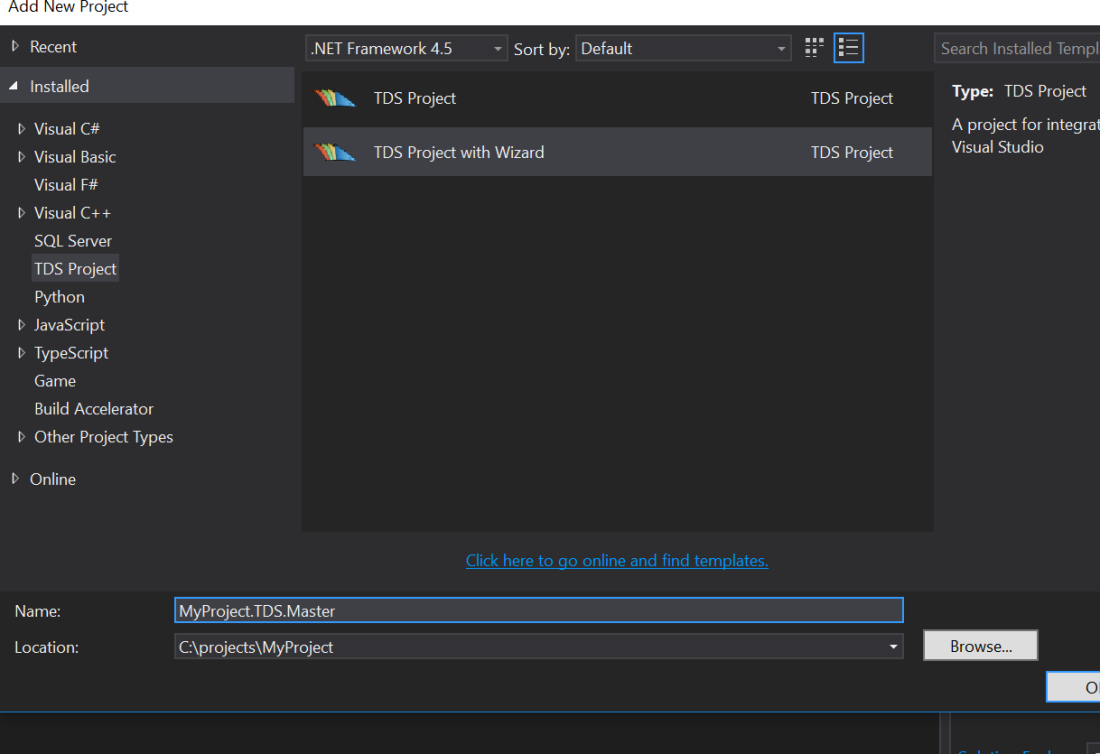
Assuming that you have installed TDS for the correct version of your Visual Studios, right-click on the VS solution and click on ‘Add New Project’ and the select ‘TDS Project with Wizard’.
Give the project appropriate name like ‘MyProject.TDS.Core‘ and click on ‘Next’

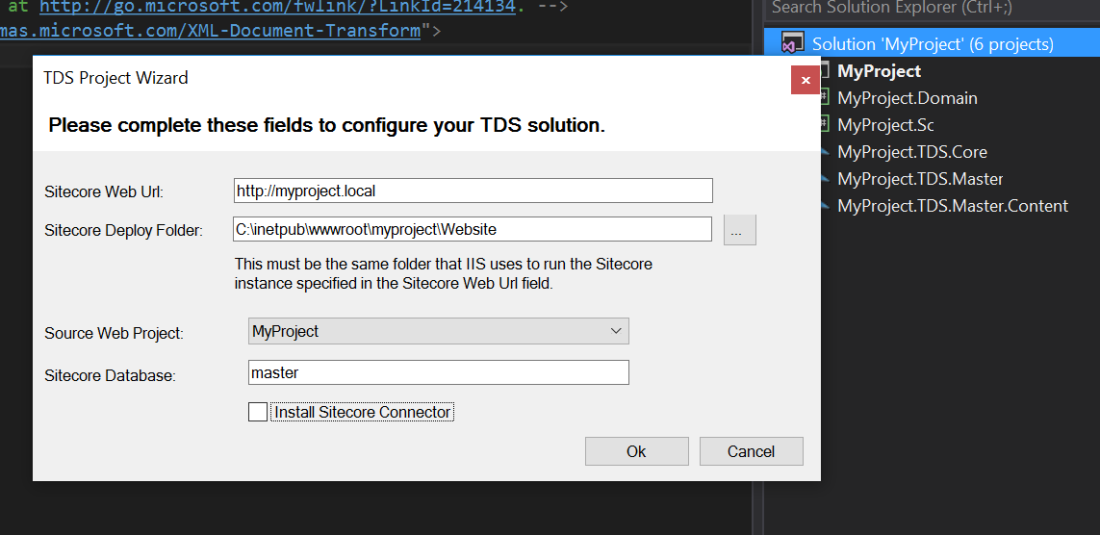
On the next screen, set up the following parameters :
- Sitecore Web Url
- Sitecore Deploy Folder
- Source Web Project
- Sitecore Database
- Check the install Sitecore connector
The example configuration is shown below:

Once you click Ok, a success message will pop-up and the new project should be added as below:

Step 2 : Create TDS.Master project
This step is similar to the previous one, except there is a small change when adding parameters on screen 2 of the wizard.
Right-click on the solution and click on ‘Add New Project’ and select ‘TDS Project with Wizard’. Give it the name as ‘MyProject.TDS.Master’ as shown below:
On the second screen, make sure to change the ‘Sitecore Database’ option to ‘master‘ and also un-tick the ‘Install Sitecore Connector’.

Click Ok and the project should be add to the VS solution:

Step 3 : Add TDS.Master.Content Project
Repeat the configurations for step 2, only changing name of the project
MyProject.TDS.Master.Content

Same parameters as that of step 2, un-tick the ‘Install Sitecore Connector’ check box:

New project should be added on clicking Ok

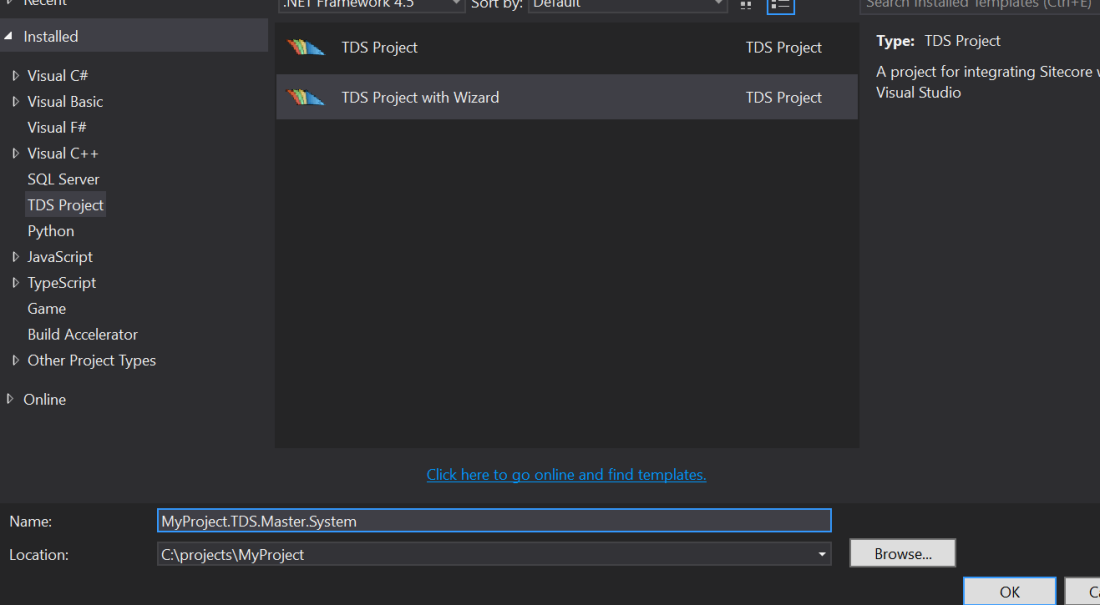
Step 4 : Create TDS.Master.System Project
Repeat the configurations for the step 2, only change the name of the project
MyProject.TDS.Master.System
Same parameters as that of step 2, un-tick the ‘Install Sitecore Connector’ check box:
New project should be added on clicking Ok.
Step 5 : Get Sitecore Items
So now we have our TDS projects installed and we would like to populate these propjects with Sitecore items. When you will right-click on the ‘MyProject.TDS.Master‘ project and try to click ‘Get Sitecore Item‘ command, it will be disabled as shown below:
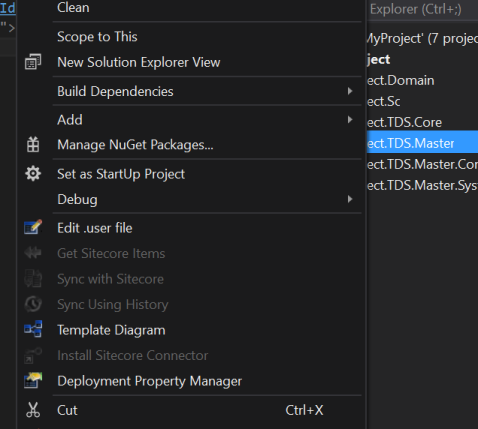
This is intended behavior as during setup of the TDS.Master project we left the ‘Install Sitecore connector‘ option un-ticked. If you have left it ticked during the project wizard, it will create a different Access GUID for each project which will be incorrect for our 4 TDS project setup.
Copy Sitecore Access GUID
As we have only installed the connector for TDS.Core project, we need to get the ‘Access Guid’ and copy it across to the TDS.Master Project
For this, right-click on the TDS.Core project’s properties and navigate to the ‘Build’ tab. At the end of the panel, you will find ‘Sitecore Access GUID‘ property. Select and copy that value

Paste Sitecore Access GUID
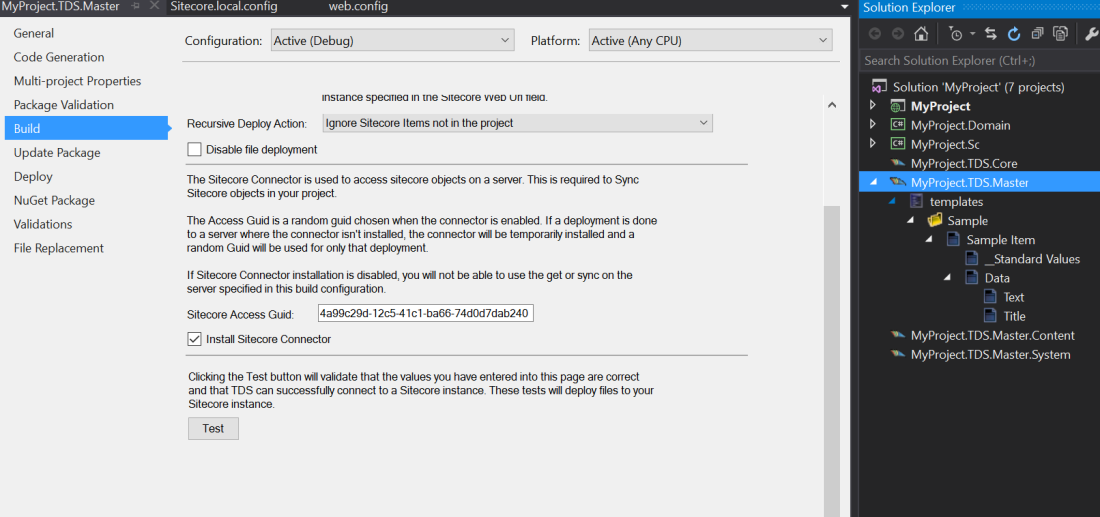
Navigate to the build tab of ‘TDS.Master‘ project’s properties build tab and now tick the ‘Install Sitecore Connector‘ box, a random GUID will appear. Delete that GUID and paste the same GUID as for the TDS.Core project as shown below:

Verify connection for TDS.Master
Once you have copied over the same GUID, click on the ‘Test‘ button at the end of the panel to verify the connection details. They should all be green as shown below:

Get Sitecore Items
Once you have ran the test, give it like 60 seconds and try to ‘Get Sitecore Items’ again, now all options should be available and you should be be to get Sitecore items as shown below:

If you select to add the standard ‘Sample Item’ template and all its children by right-click options, it should appear as below:
Repeat the Copy/Paste GUID process for TDS.Master.Content and TDS.Master.System
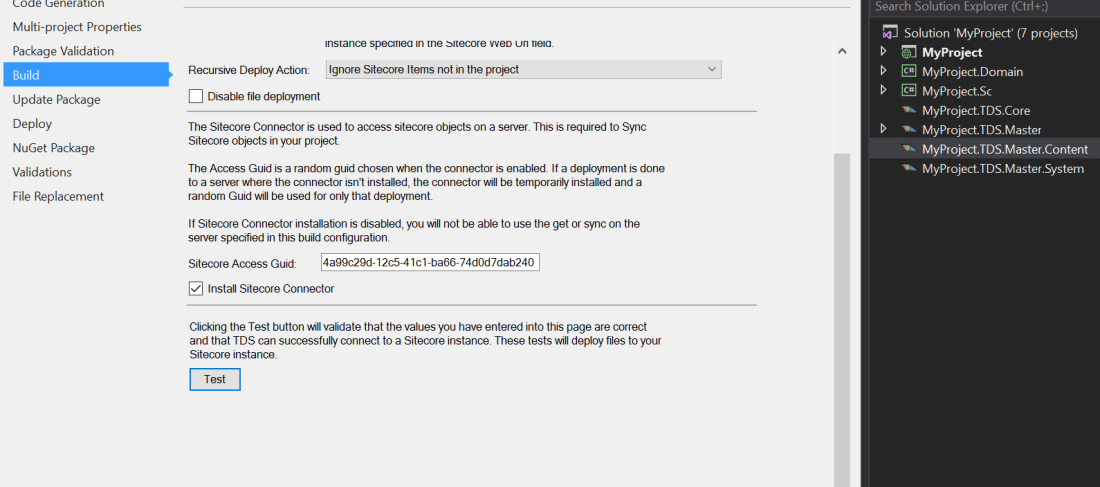
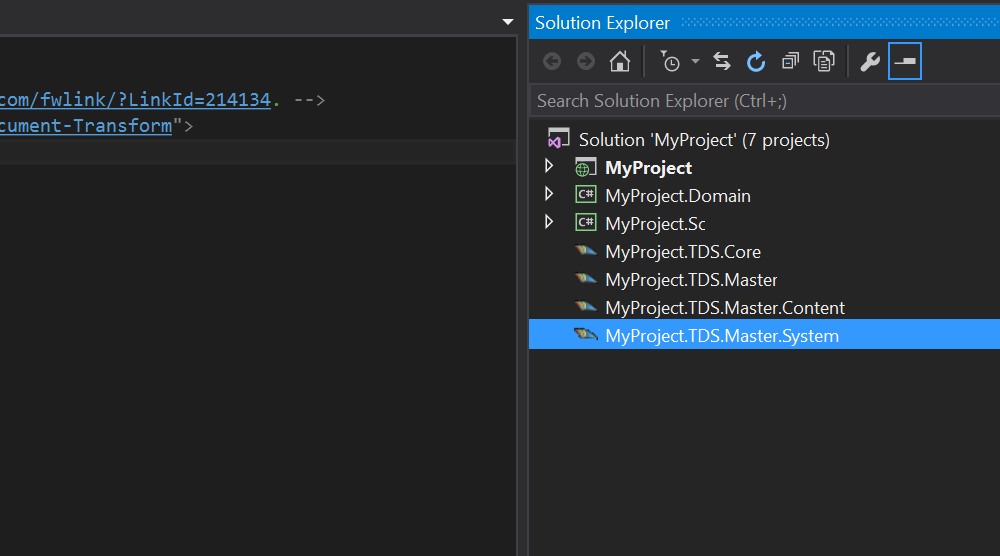
Once you have repeated the process for all TDS.Master.* projects and populated them with Sitecore items, your VS solution should look like this :

That’s it for now, in the next post we will configure Sitecore Glass Mapper, TDS with T4 templates and auto-code generation for the Sitecore data templates.
Stay tuned.
Thanks
Related Blogs
- Part 1 – Continuous Integration – Why your Sitecore project deployments must be automated ?
- Part 2 – Setup and Configure Visual Studio Sitecore Project
- Part 3 – Setup and Configure TDS
- Part 4 – Setup Sitecore Glass
- Part 5 – Setup Source Control (Git)
- Part 6 – Setup QA Server, DB server and CI server
- Part 7 – Setup Continuous Integration using Team City
- Part 8 – Setup Slack Notifications with TeamCity and Bitbucket
